Removing Background Using Photoshop Luma Mask
This is a quick tutorial and guide on how to remove background or seperating foreground from background using photoshop luma mask matte method.
Luma Mask Quick Tutorial
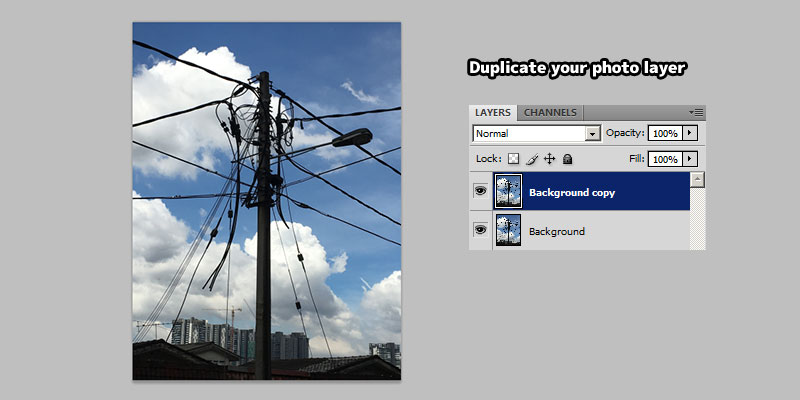
Duplicate the photo source into another layer.

CTRL-SHIFT-U to desaturate the new layer. Then, CTRL-L to level adjust the new layer. Try to adjust the image into a black and white image with less gray shade. You can also use the CTRL-M curve adjustment for this step.
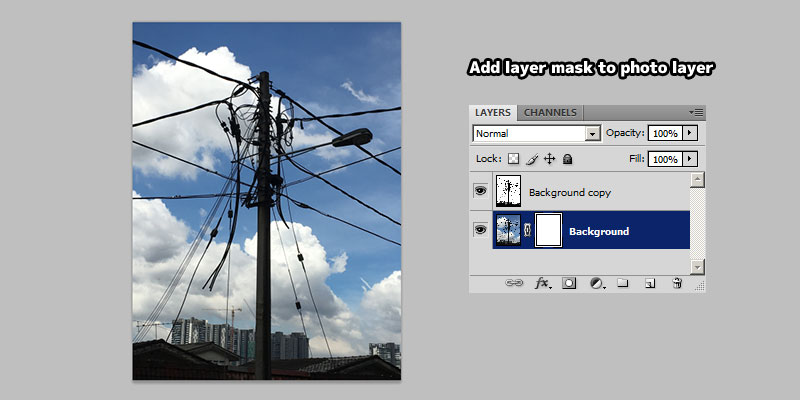
Add layer mask to the photo layer. You can access this on the menu via Layer > Layer Mask > Reveal All.
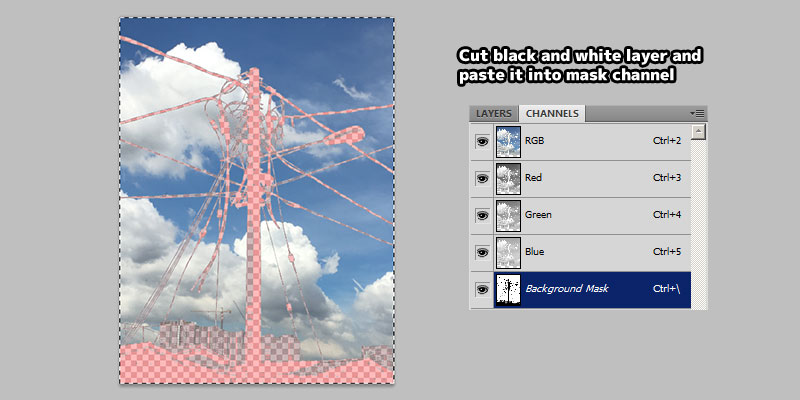
Cut and paste the black and white layer into mask channel under the channels tab.
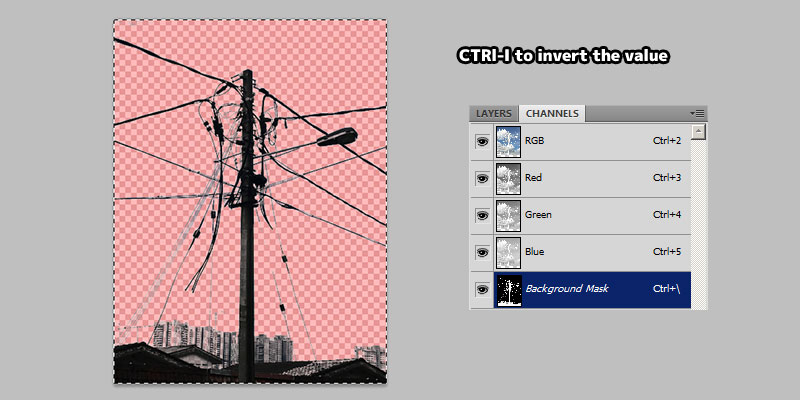
Most of the time, our mask will be inverted since the sky is bright which result in white shade. Since, white is transparent and black is opaque in luma mask. So we need to invert the mask using CTRL-I.
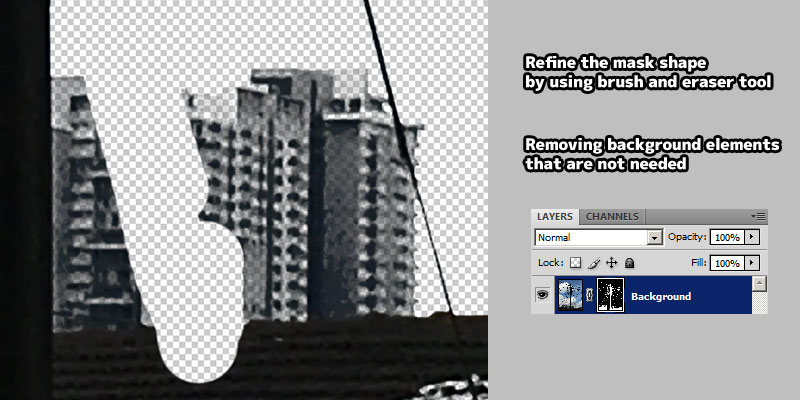
Now, go back to the layers tab and click on the mask. You can start using the eraser tool to remove background elements that are not needed. If you accidentally delete something, use the paint brush tool to repaint the mask. It is very important to make sure you are painting and erasing on the mask, instead of the image.
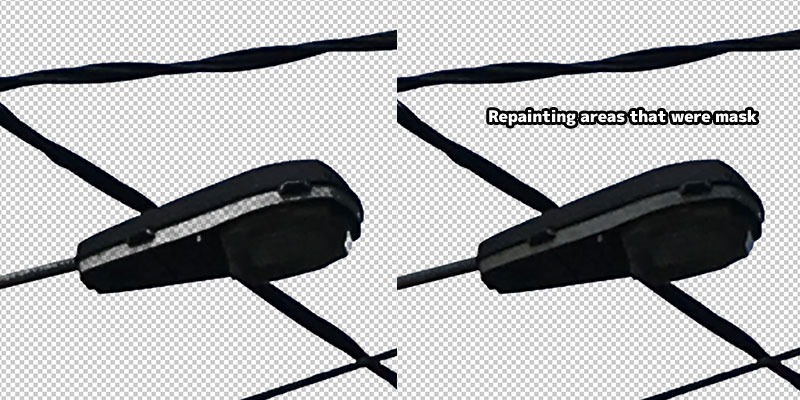
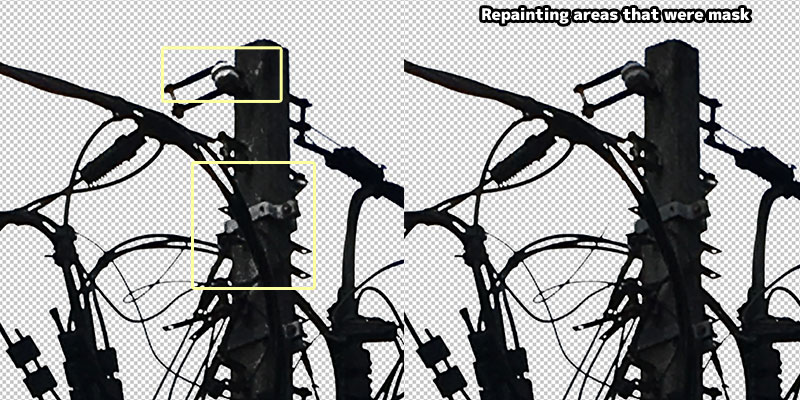
We might need to repaint some of the areas that were accidentally mask since our mask contain gray shade.
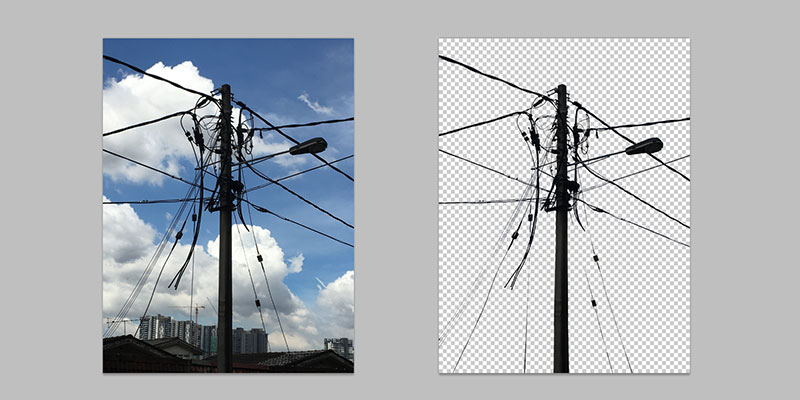
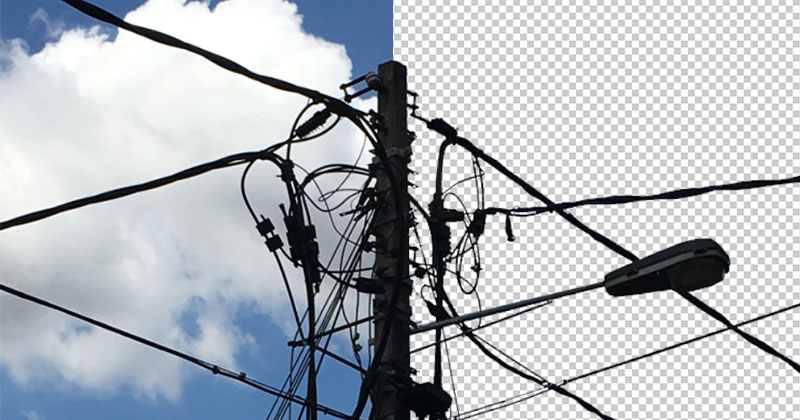
And that's it! We successfully mask the foreground object and seperate it from the background.
Luma Mask Tutorial Video
Below is the luma mask tutorial in video format.Ideas For Your Street Light Painting
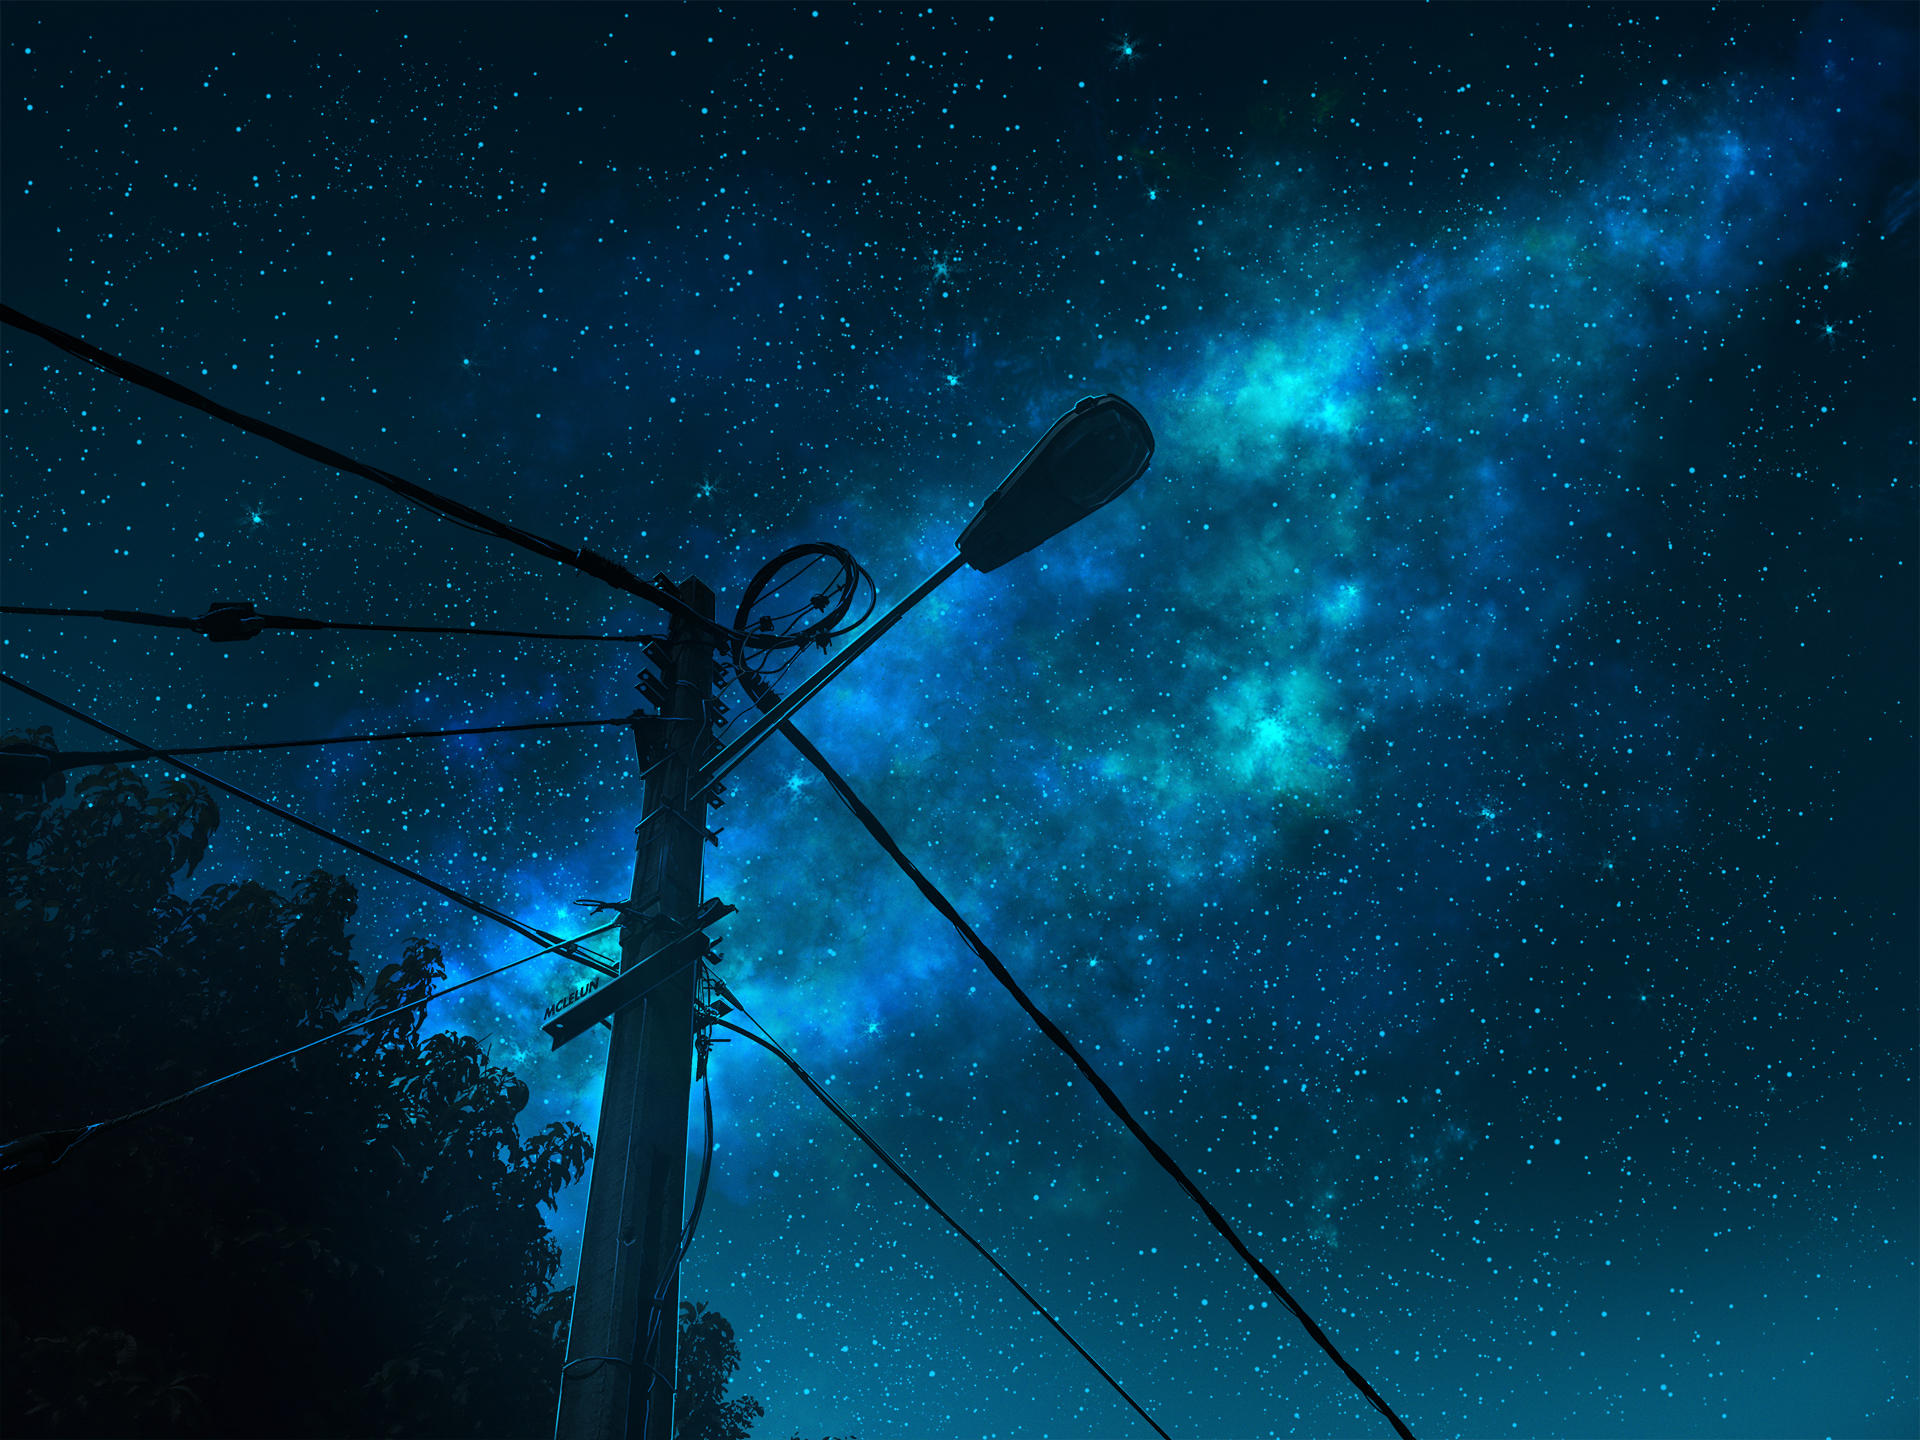
Below are two painting timelapse videos of street light.Artworks
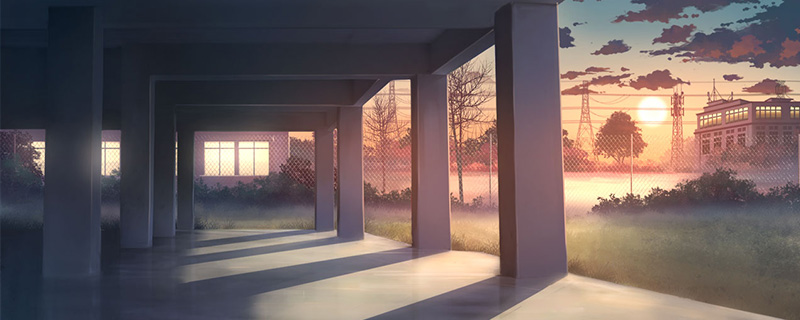
Some artworks that make use of luma mask.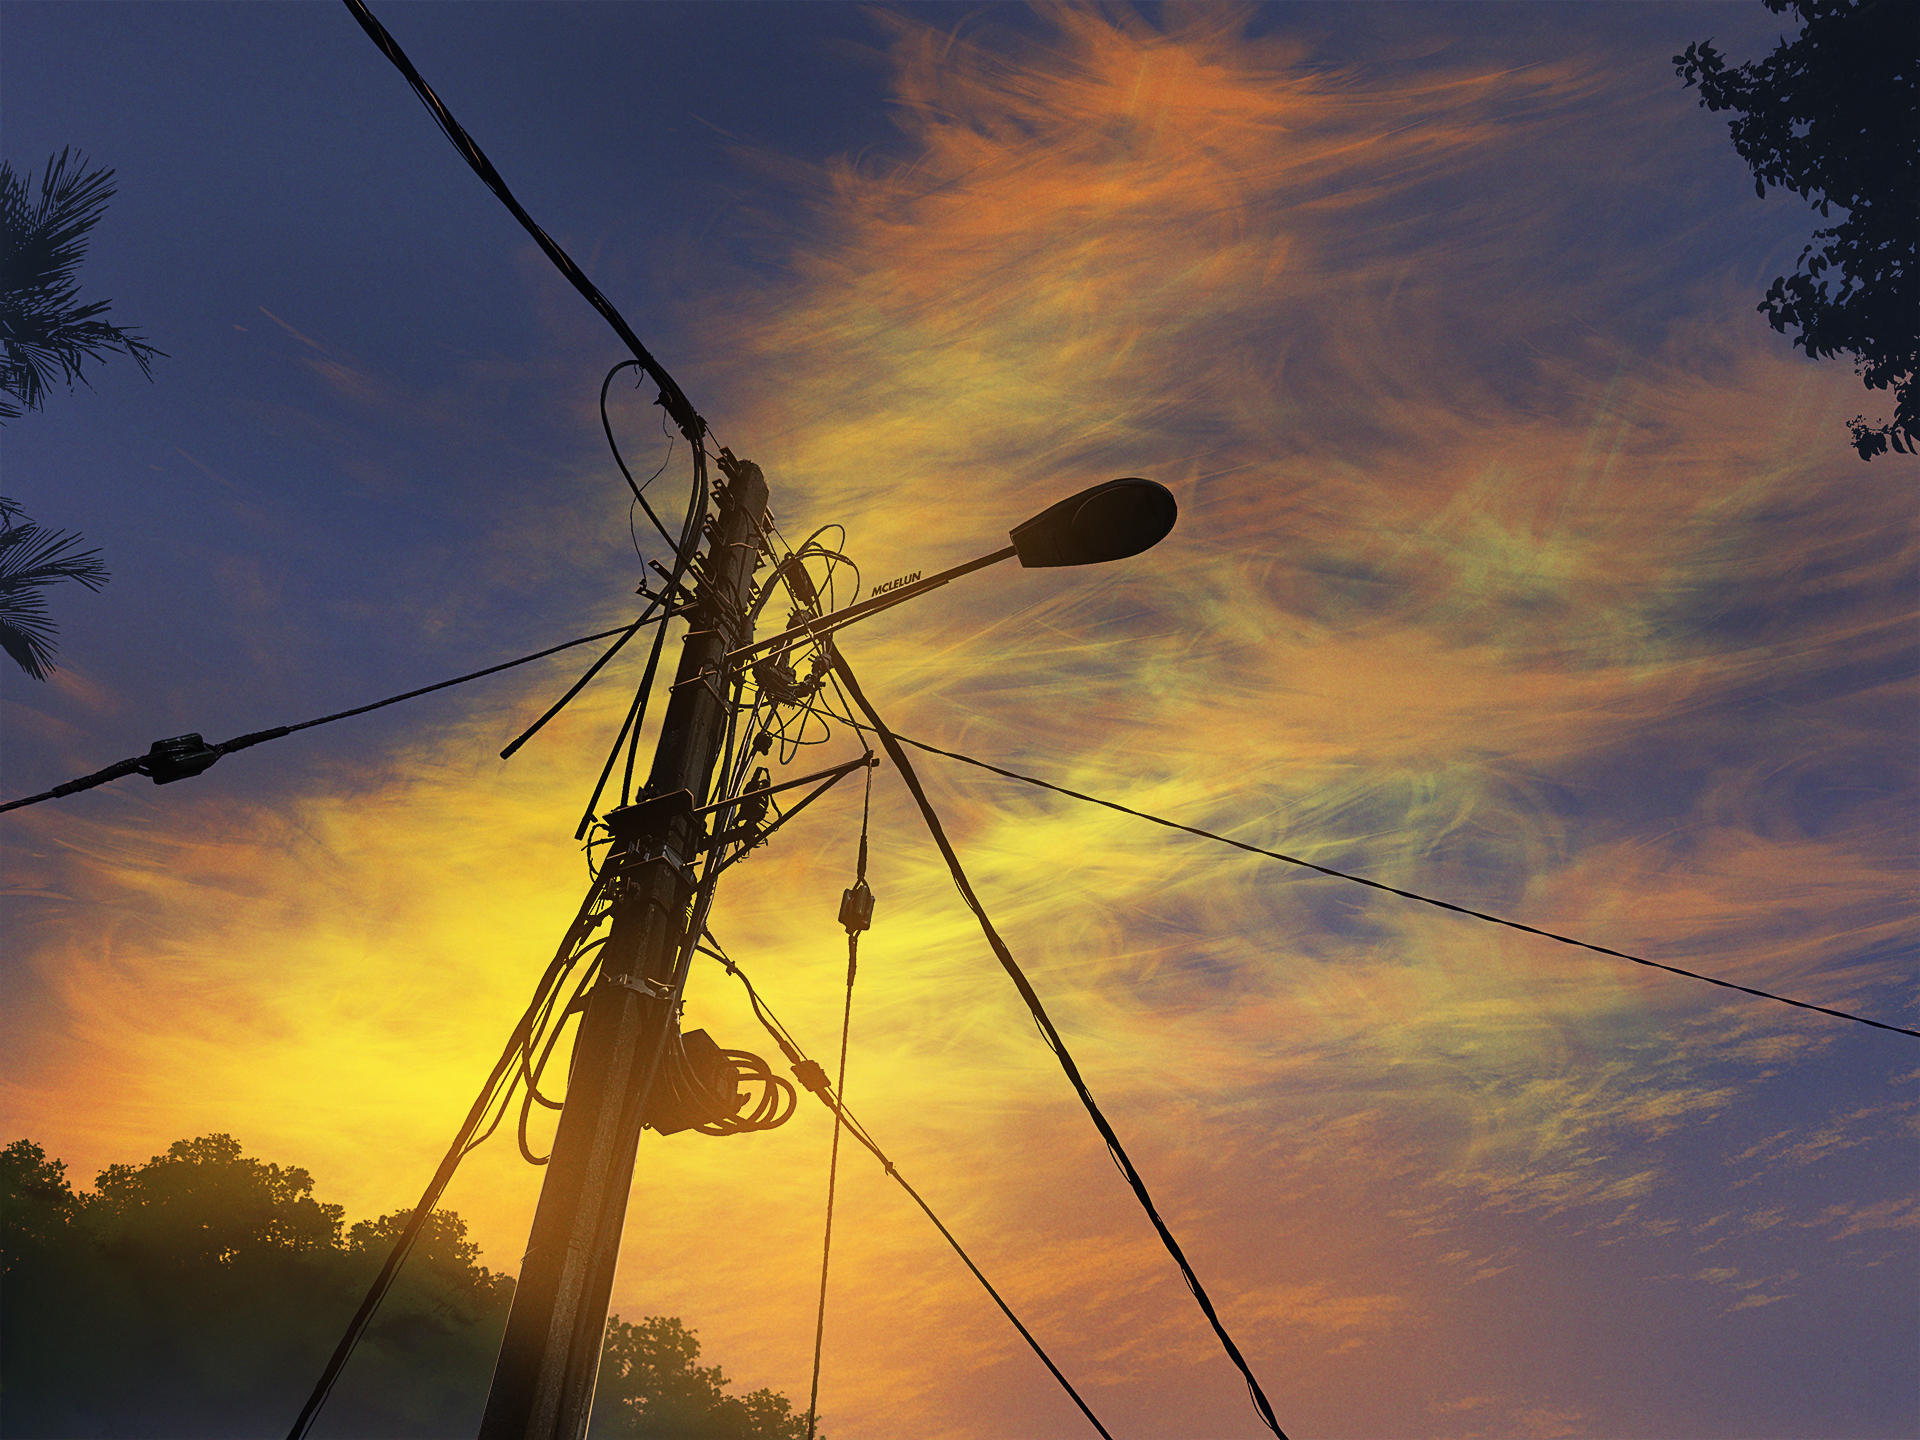
Excellent work! one side question are you working on any animation? (short animations etc)
ReplyDeleteYah bless
Awesome tips for background removing by using Photoshop.
ReplyDeleteWonderful Tutorial, thanks for putting this together! This is obviously one great post. Thanks for the valuable information.
ReplyDelete