Creating Photoshop Water Wave Brush

Custom water wave brush are useful for painting lake, river or ocean. In this quick tutorial, I will show you the steps to create wave brush in Photoshop.
Brush Tip
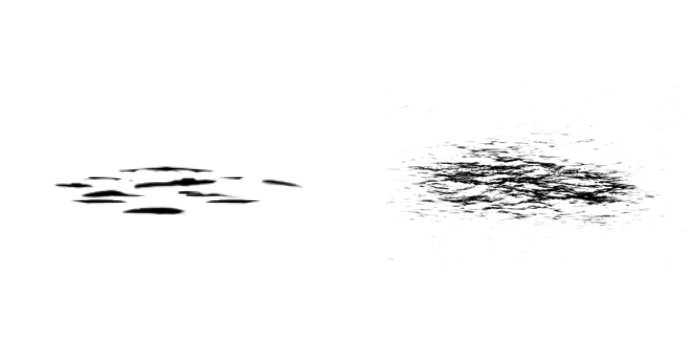
Draw the brush tip shape. The shape on the left is a drawing and on the right is from a photo. Using photo brush tip shape will make it more realistic.
Define Brush Preset
Convert the image we draw by using, Edit > Define Brush Preset.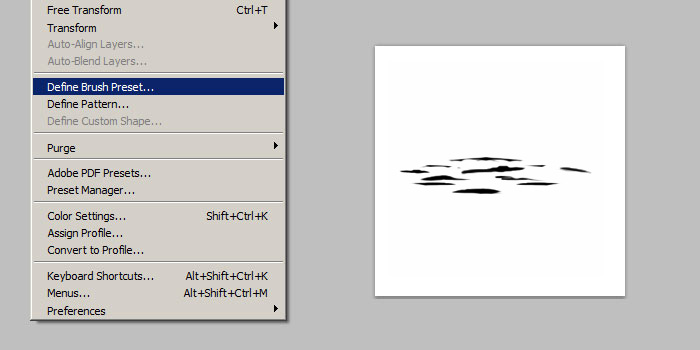
Shape Dynamic and Scattering
Now, select the new brush we just created. The brush currently is without any settings, so enable Shape Dynamics and Scattering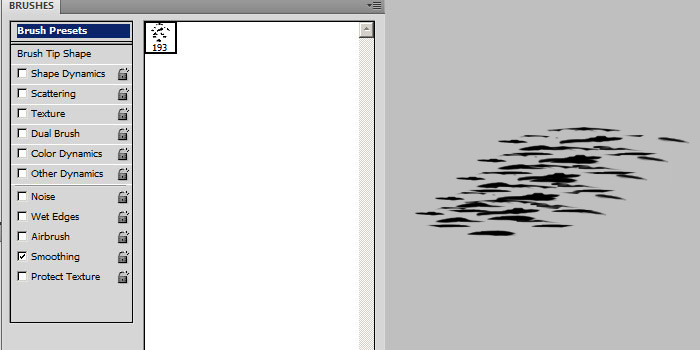
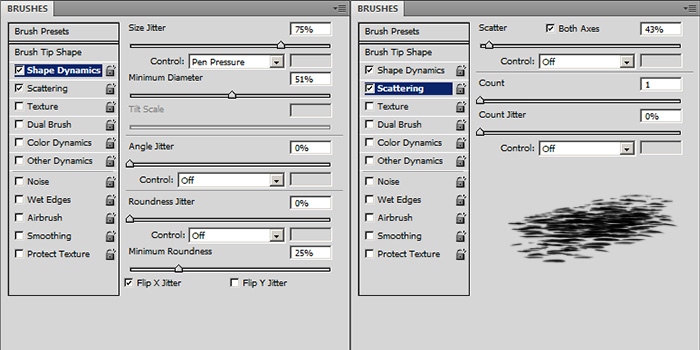
Shape Dyamics
- Size Jitter - Randomise brush tip size. Control with Pen Pressure.
- Minimum Diameter - Minimum brush tip size.
- Flip X Jitter - Randomly fliping brush tip in X axis.
Scattering
- Scatter - Randomise brush tip location. Enable Both Axes so it scatter on X and Y axis.
- Count - Number of brush tip scatter. Default 1 is good enough
Below is video recording on creating custom Photoshop water wave brush and on how it can be use in a painting
Saving The Brush Settings
After changing all the brush settings, we will need to save it again via New Brush Preset in the brush panel. If we don't do this, we will lose all the settings! Then under the brush panel again, choose Save Brushes to backup your whole set of brush.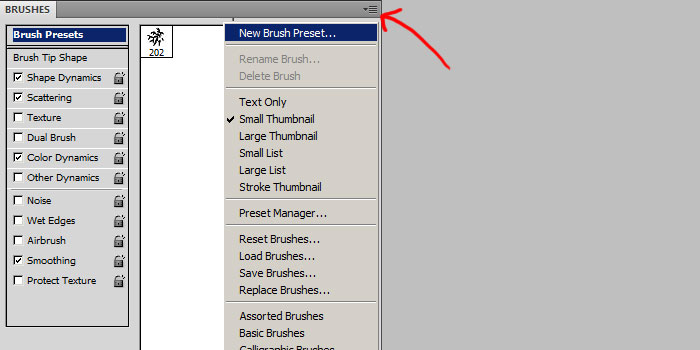
To quickly delete the brush without settings, ALT-CLICK on it.
Artwork
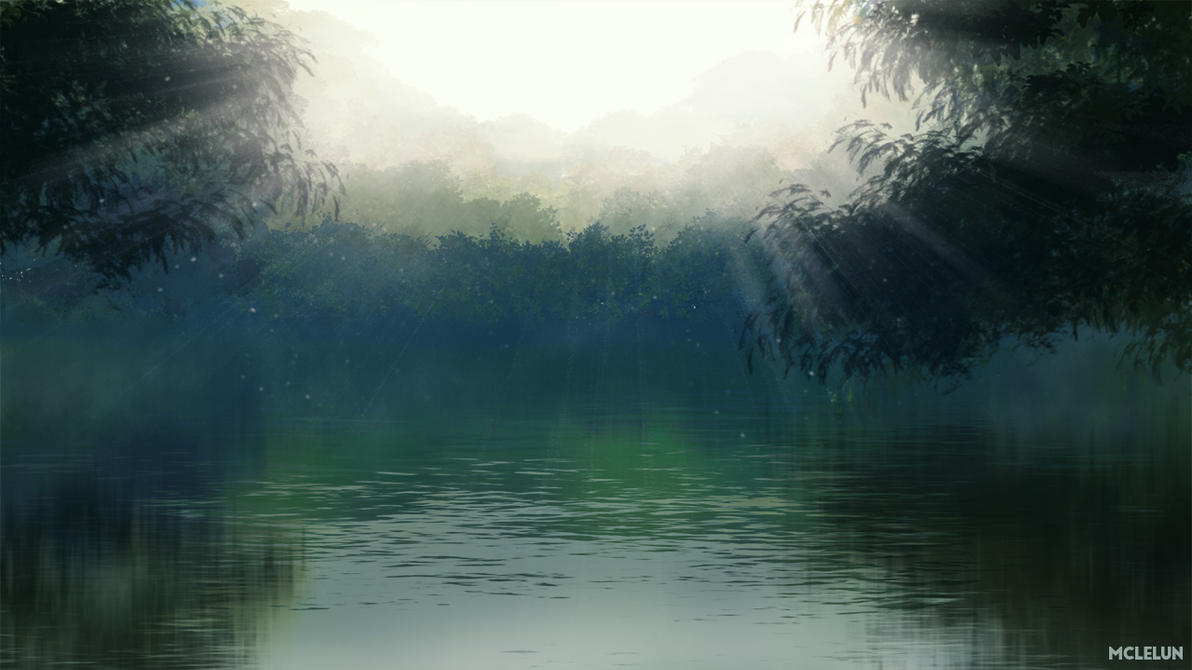
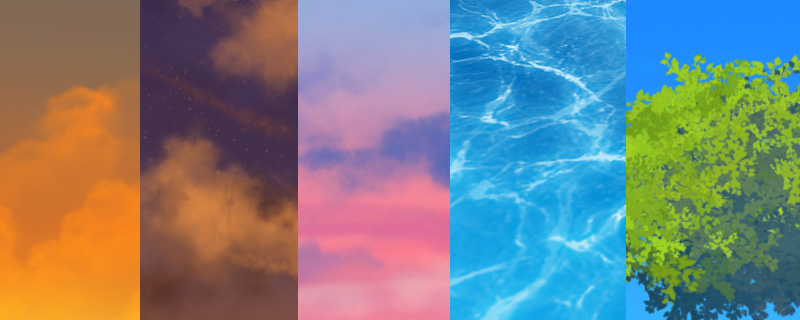
Some of my artworks which use similar water wave brush for painting.



Great post!
ReplyDeletestunning arts
ReplyDeleteThe results are uncanny. This method works for Procreate too!
ReplyDelete