Anime Cloud Tutorial
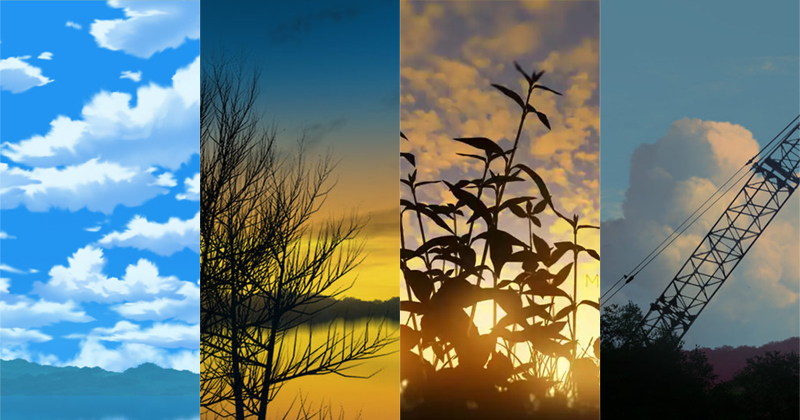
This tutorial will discuss in detail on how to paint different types of clouds in anime style based on my observations of cloud painting in various anime.
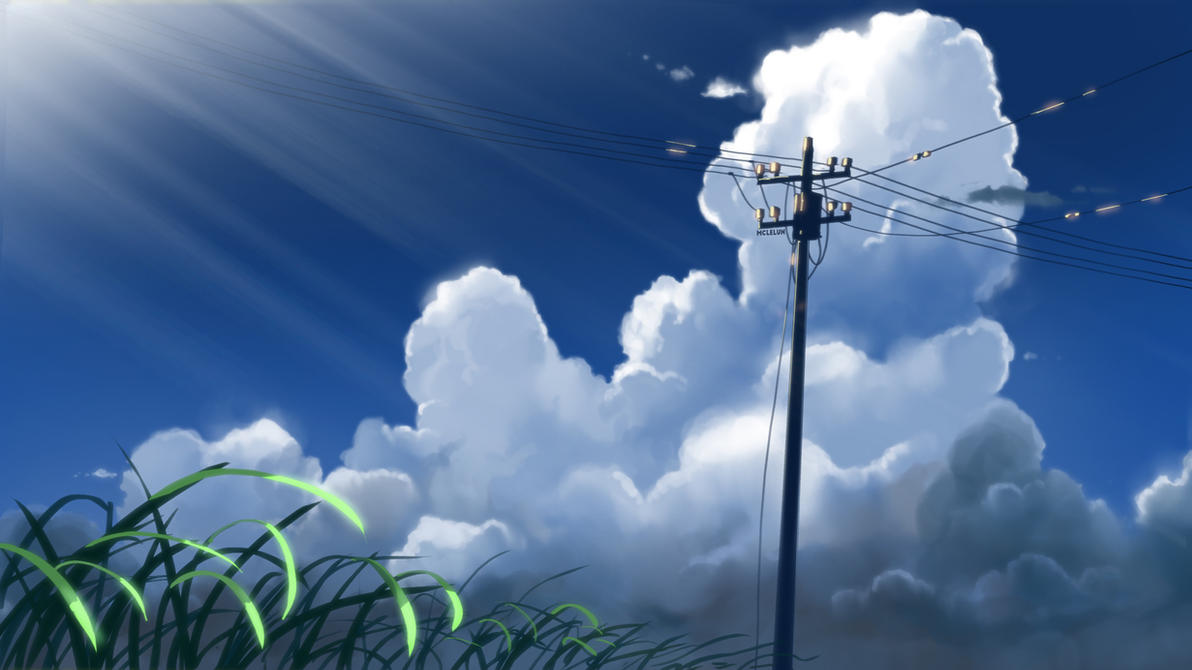
Custom Brush of Default Brush?
Different types of clouds can be paint with custom brush and default brush in Photoshop. But it will be more better in long term without depending too much on custom brush. So, this tutorial will be focusing on using default brush.Some default brushes which I find useful for painting clouds are "Chalk", "Charcoal" and "Oil Pastel" brush. Some settings you migh want to play with are:
Shape Dyamics
- Size Jitter - Randomise brush tip size. Control with Pen Pressure.
- Minimum Diameter - Minimum brush tip size.
- Angle Jitter - Randomise brush tip rotation.
- Roundness Jitter - Randomise brush tip shape roundness. This will squeeze the tip shape vertically.
- Minimum Roundness - Minimum brush tip shape roundness.
- Scatter - Randomise brush tip location. Enable Both Axes so it scatter on X and Y axis.
- Count - Number of brush tip scatter. Default 1 is good enough
More info on brush settings for painting anime cloud and creating custom Photoshop cloud brush.
Types of Clouds
Before moving further, lets look at different type of clouds.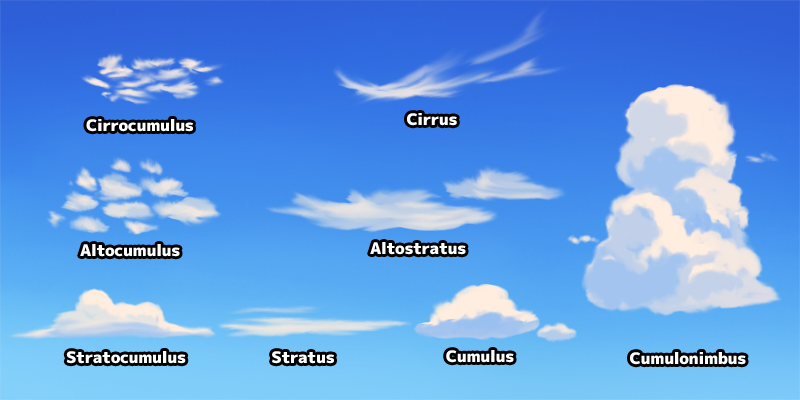
The naming for clouds can be confusing. So, here is a list of useful info on how naming is done.
- Cirro = High altitude clouds
- Alto = Mid altitude clouds
- Nimbo / Nimbus = Clouds that bring rain
- Cumulo = Piles of clouds
- Stratus = Wide flat layer of clouds
Although we are not learning meteorology here, but it is always good to remember there are different type of clouds in the sky. For example, we want to avoid painting high altitude clouds infront of low altitude cloud.
Painting Basic Cumulus Clouds
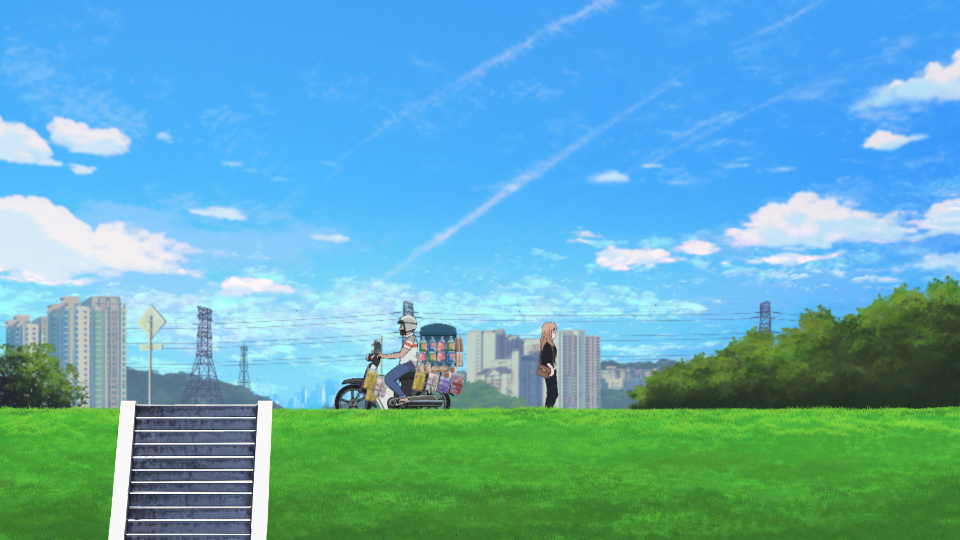
This is the basic clouds which we will be painting a lot of times in different artworks. Mastering this clouds will help alot when come to painting landscape art.
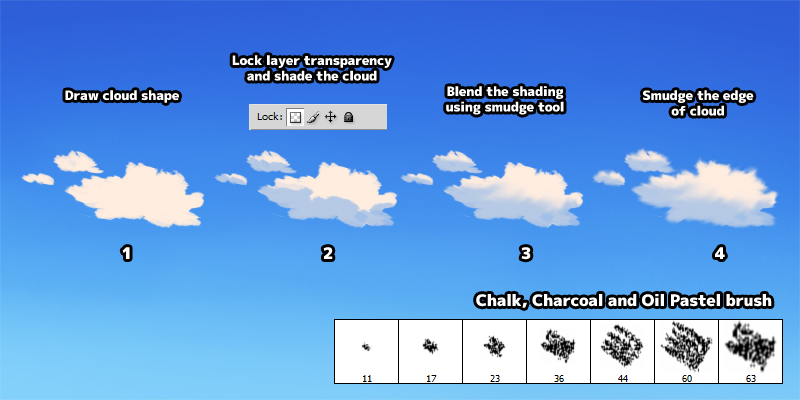
- Use "Chalk", "Charcoal" or "Oil Pastel" brush to draw cloud shape.
- Lock layer transparency and shade the cloud. A lot of time, we can use 50% opacity of the sky colour for shading.
- Use smudge tool to blend the colours.
- Unlock layer transparency and smudge the edge of cloud. This step is optional but will add some wispy look near the edge.
- Avoid painting cloud symmetricaly.
- More randomness in cloud placement and cloud shape.
Shape of Cloud
A lot of time we want to avoid painting cloud that look symmetry.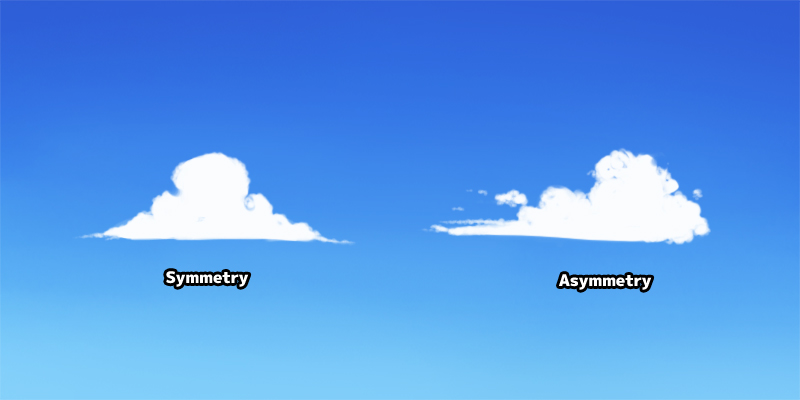
Cloud on the left is symmetry and look more cartoony. Cloud on the right is asymmetry and look more natural. Since we are panting anime style artwork which is semi-realism, the second cloud work better for us.
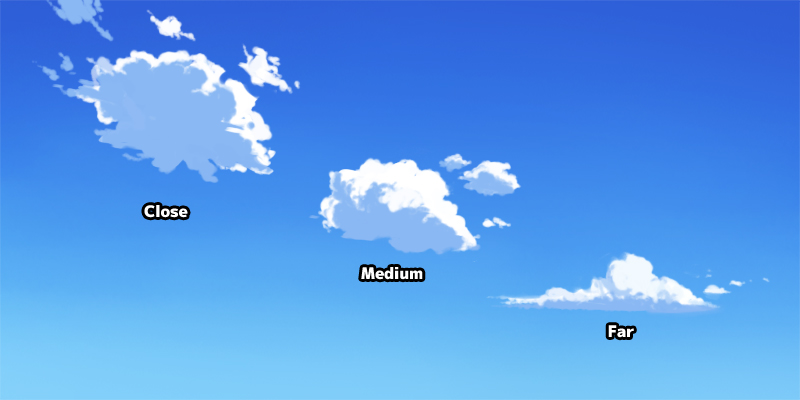
The shape of clouds also varies depend on the angle we are viewing them. Cloud that are close to the us means we are viewing it from below. We can see the side of clouds when it is far away and near the horizon.
Placement of Cloud
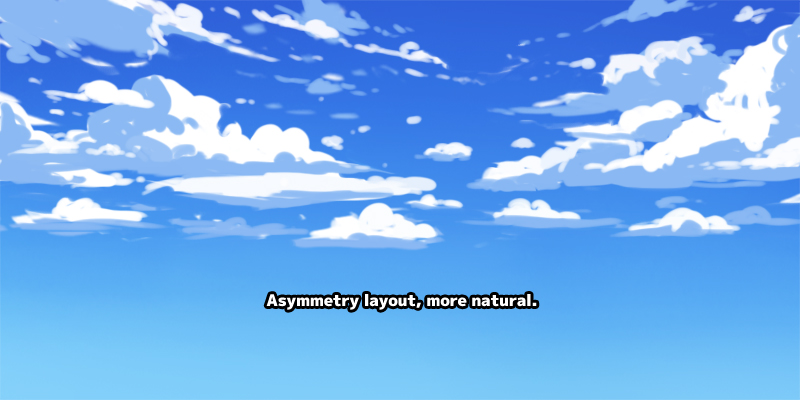
Random placement of clouds in the sky will be more visually eye pleasing. The first image below show a more symmetry layout. There is nothing wrong with this, as it will work well certain cartoon style artwork. But again, we are trying to do anime style artwork so the second image with random cloud placement work better for us.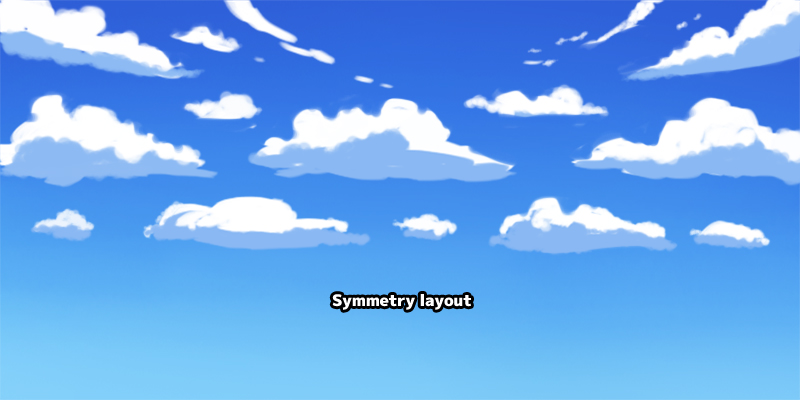
Colours of Cloud
Time of day, seasons, weather, amount of light scatter in clouds. All these factors will affect the colours and shading of cloud. By changing the colour palette of clouds, we can use this basic clouds for different time of day.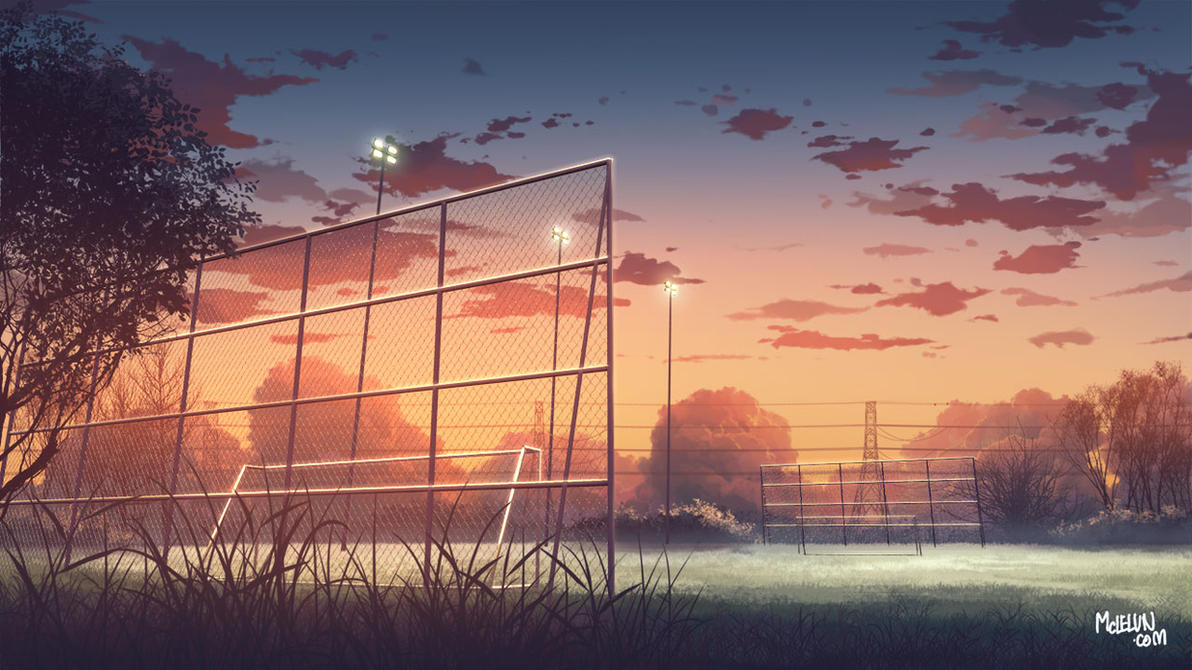
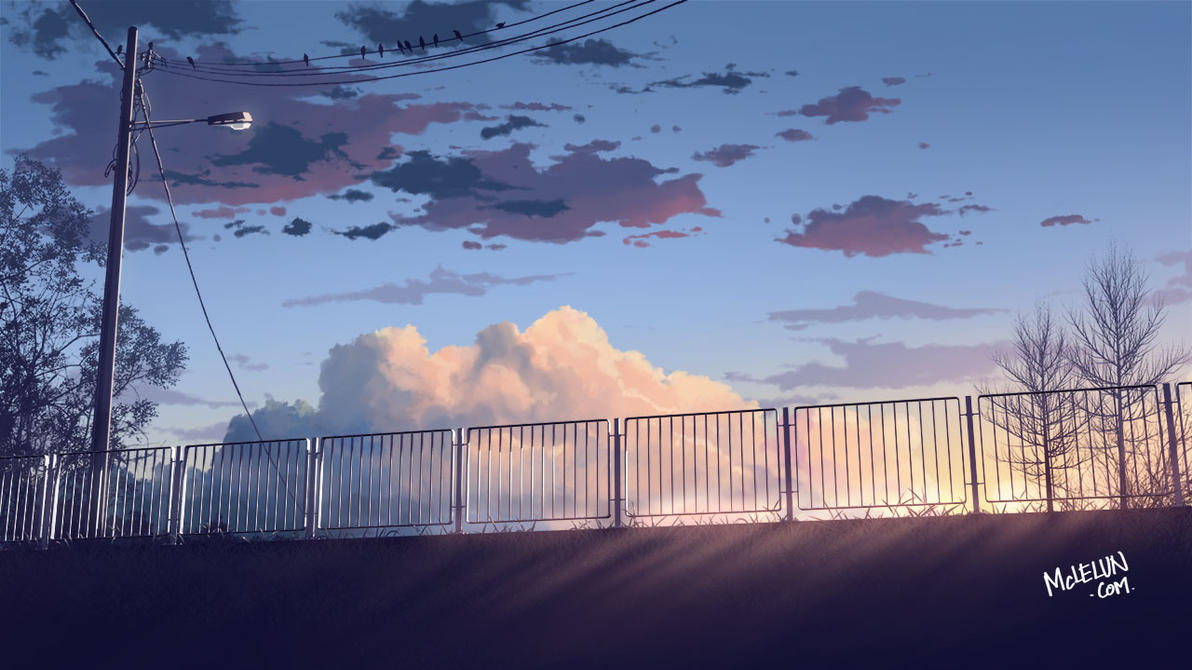
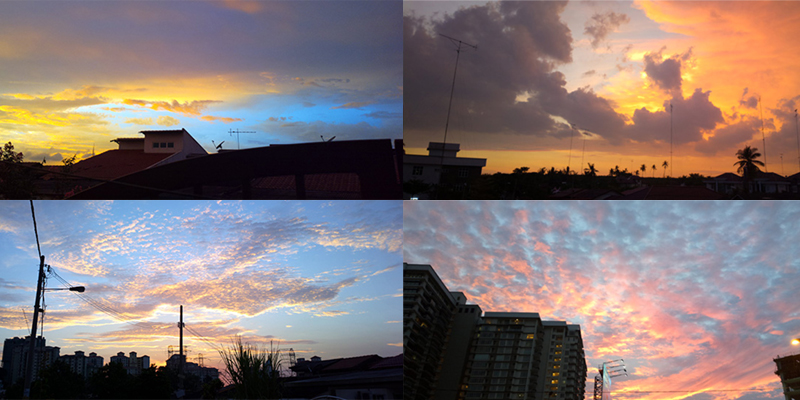
Sky and cloud are vibrant and colourful especially during magic hour. So, we can be more adventurous when choosing the colour palette. Below are some sunset photos I took with my phone.
With these knowledge and info in mind, lets paints other types of clouds.
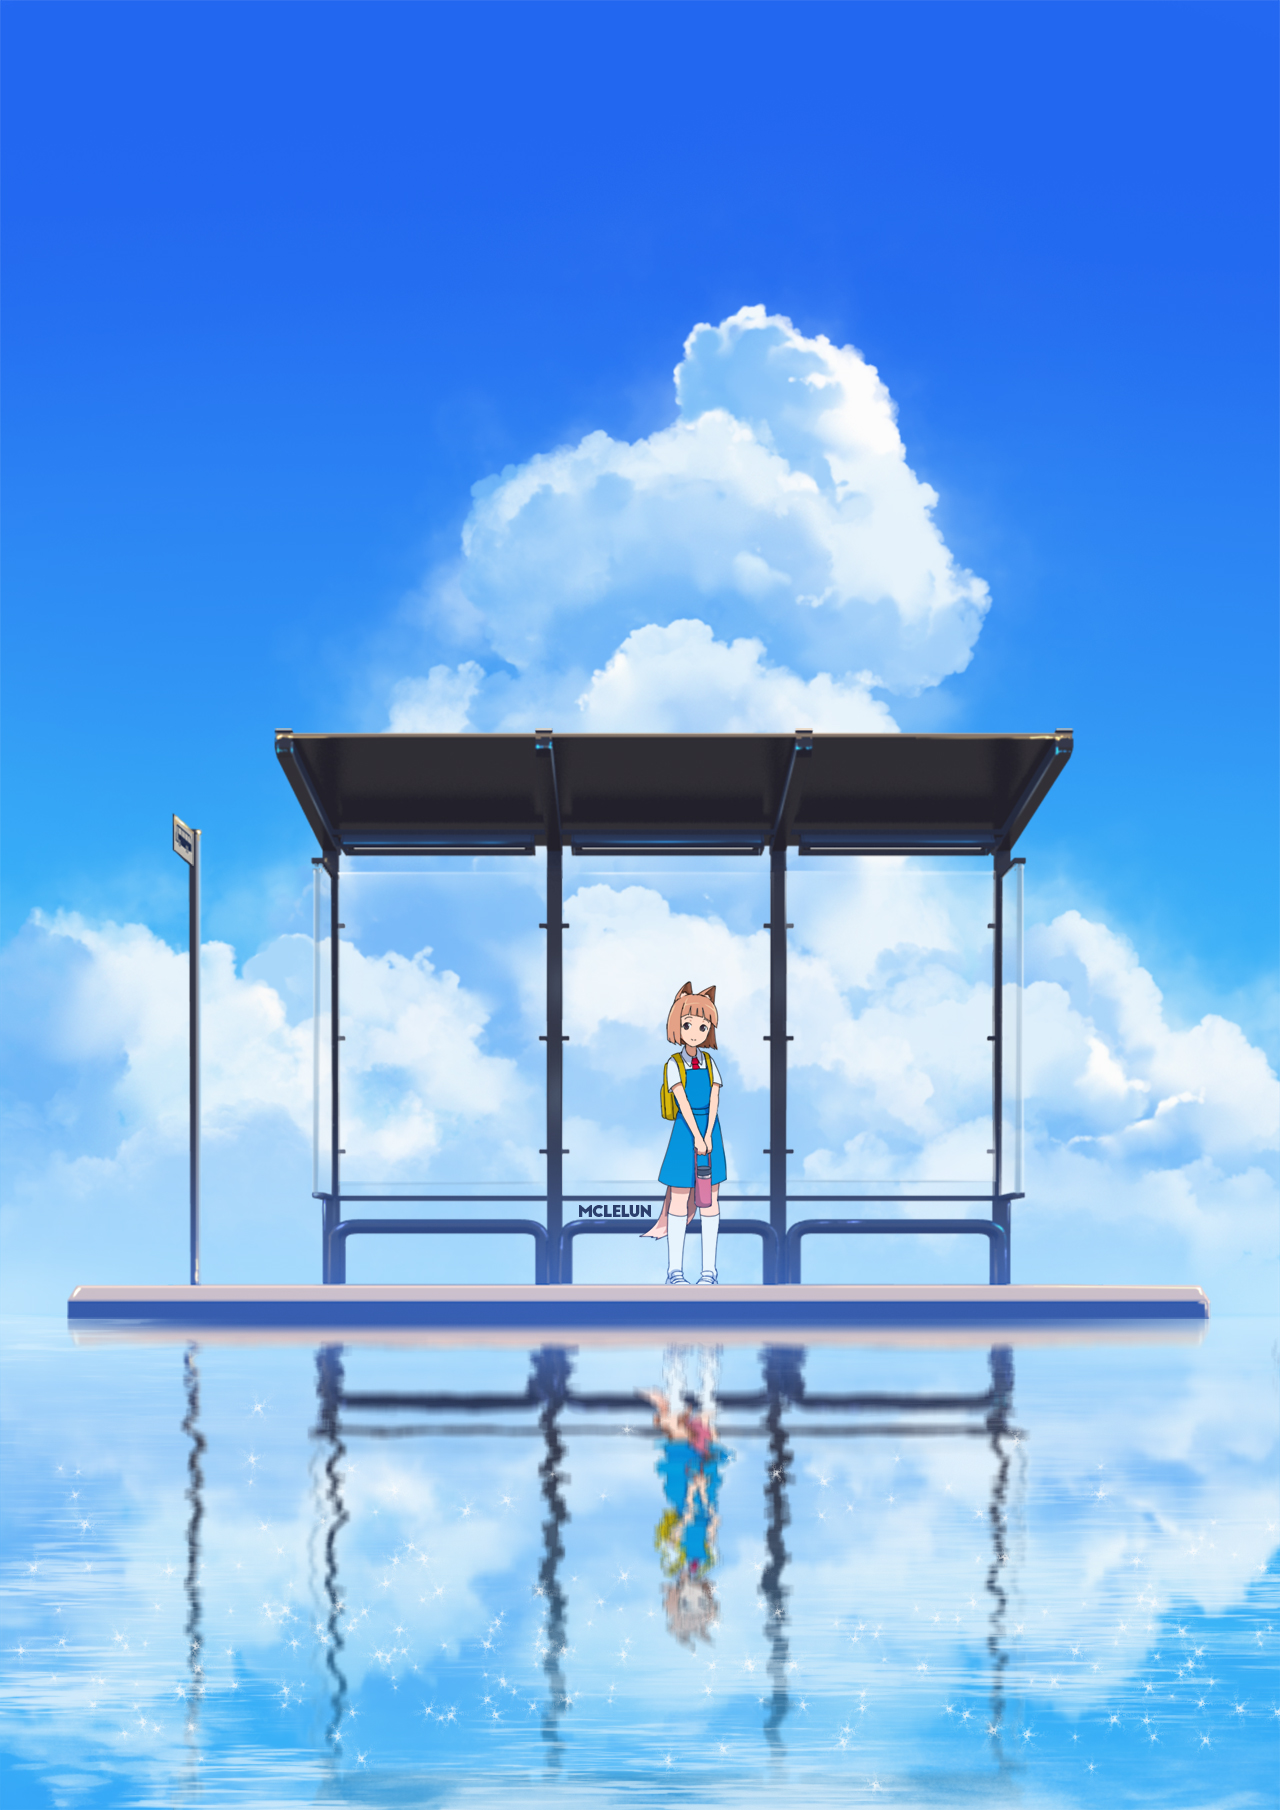
Painting Large Cumulonimbus Clouds
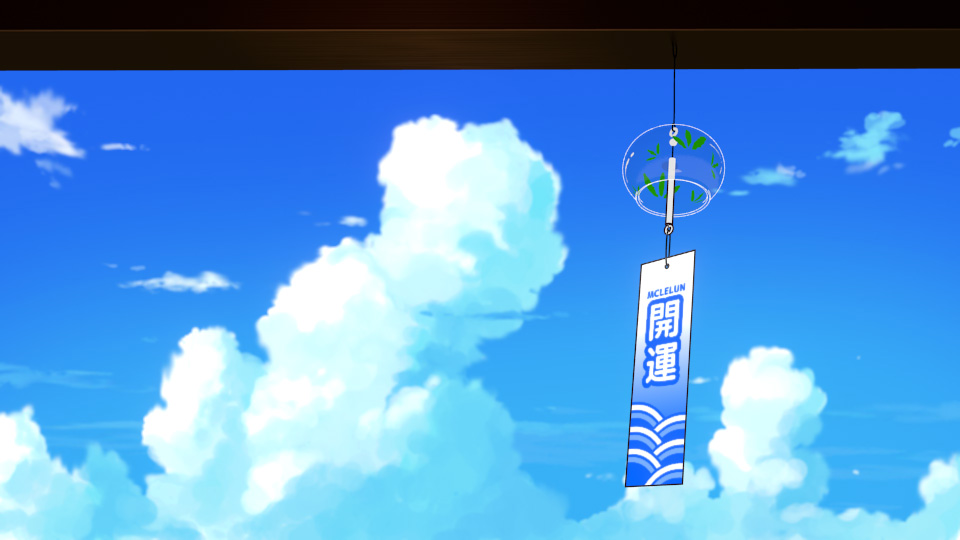
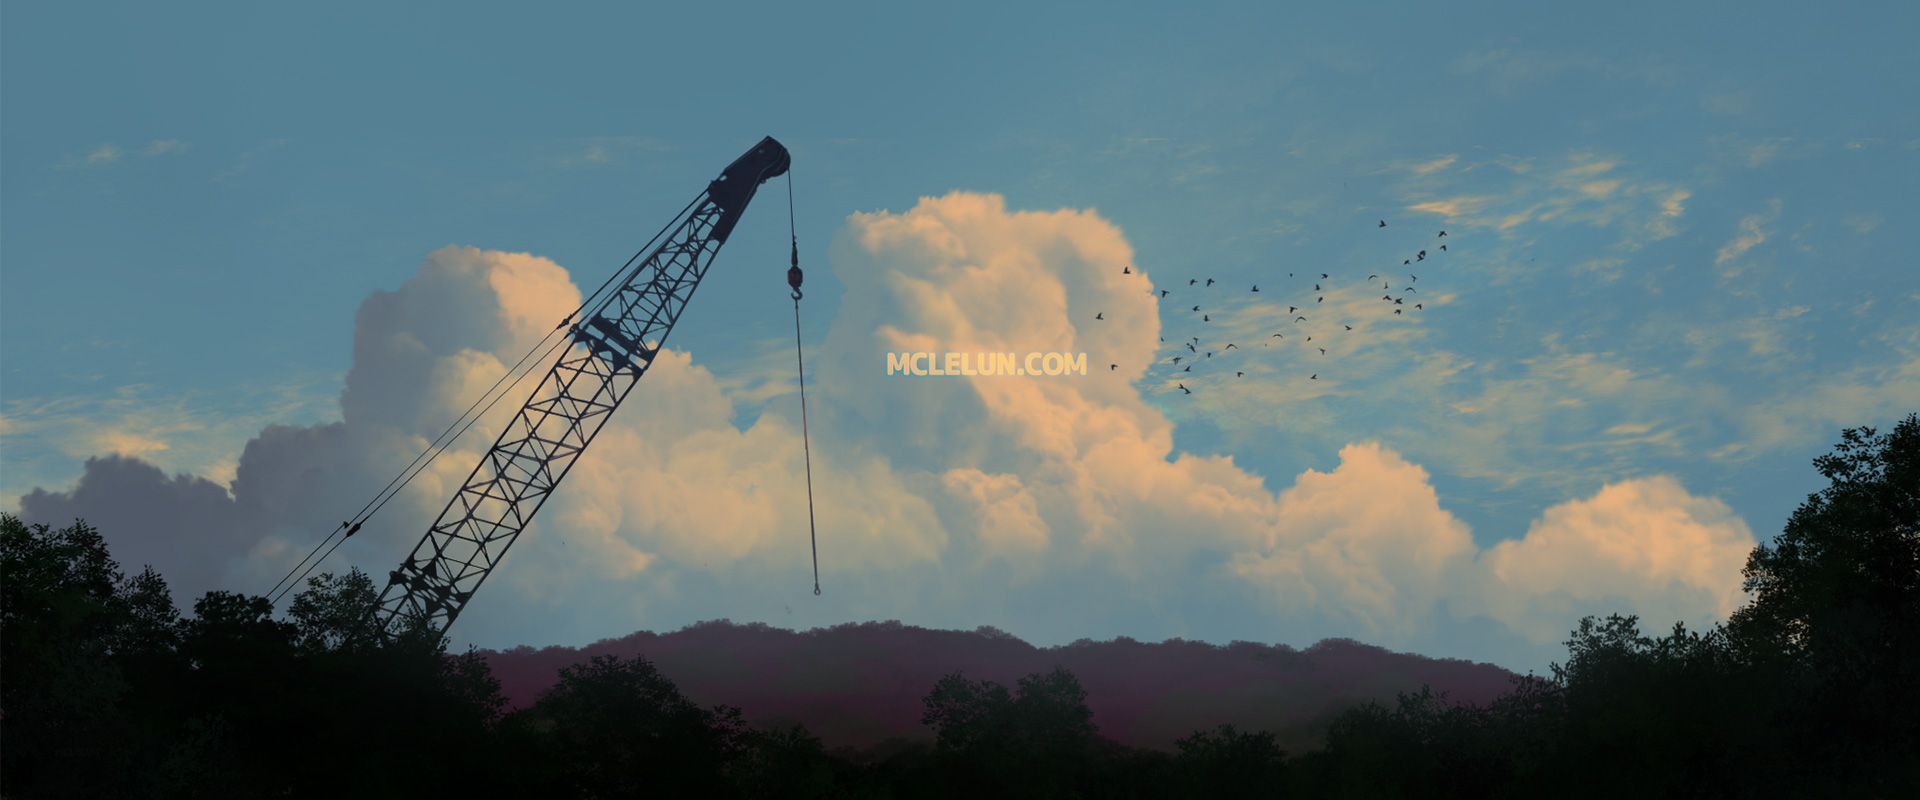
Large cumulus cloud is usually use to depict summer in anime. The steps to paint these cloud are the same as painting the basic cloud, draw the shape, shade and smudge.
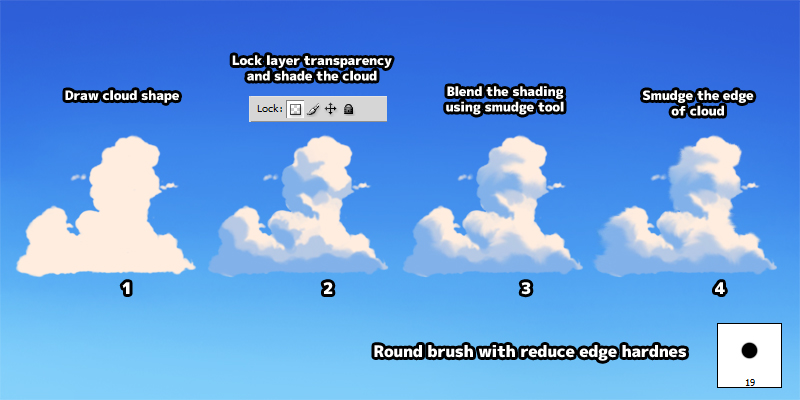
- Use default round brush to draw cloud shape.
- Lock layer transparency and shade the cloud. A lot of time, we can use 50% opacity of the sky colour for shading.
- Use smudge tool to blend the colours.
- Unlock layer transparency and smudge the edge of cloud. This step is optional but will add some wispy look near the edge.
By using a different colour palette, we can paint this cloud for sunset scenery too.
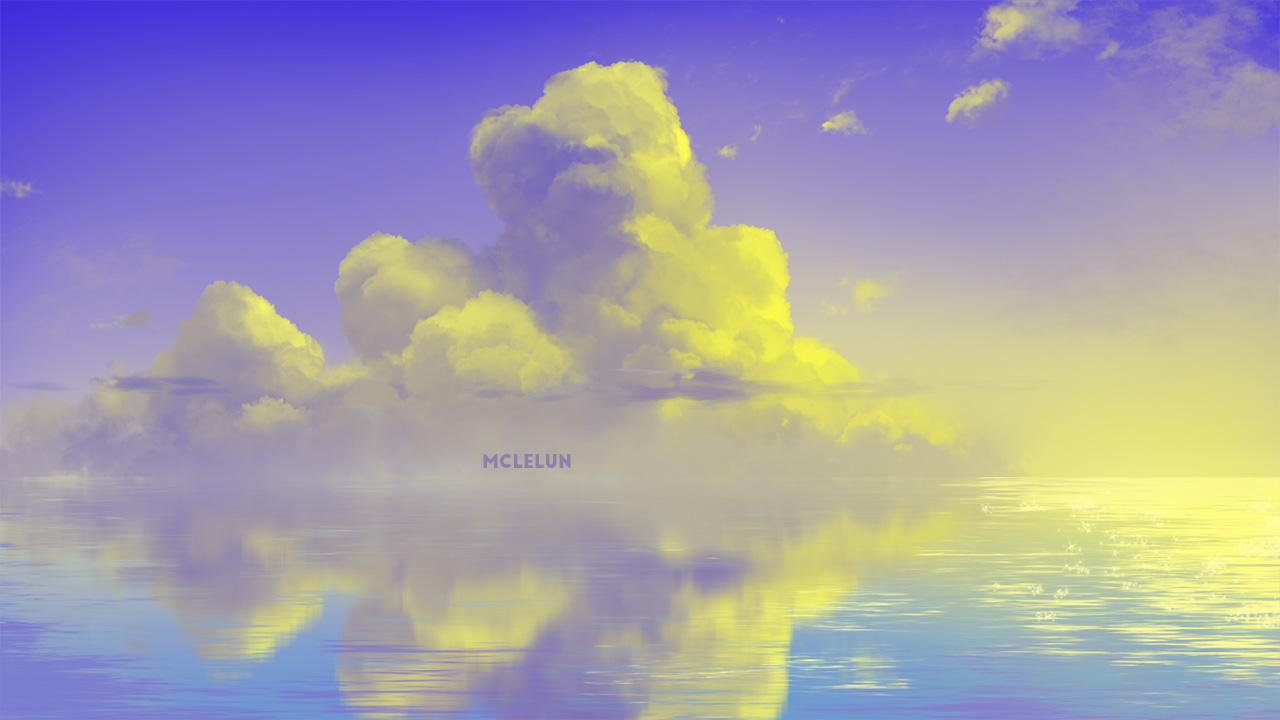
Painting Long Evening Clouds Near Horizon
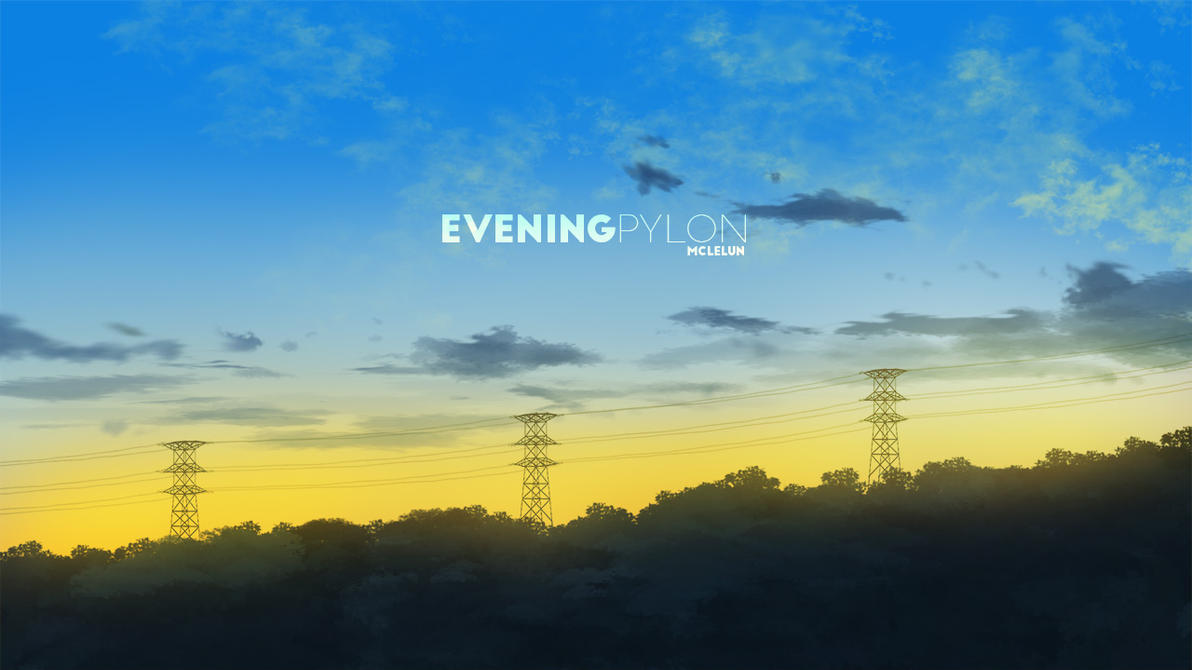
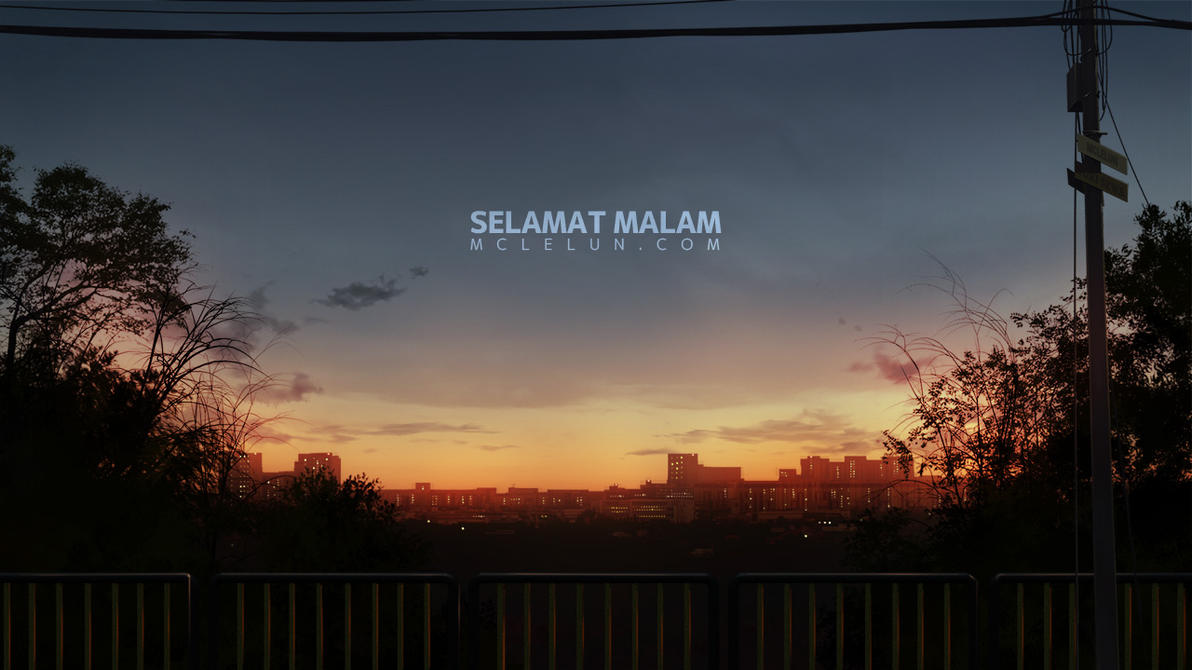
These long clouds near horizon are usually seen during the evening. They are quite easy to paint as it can be done in just two steps.
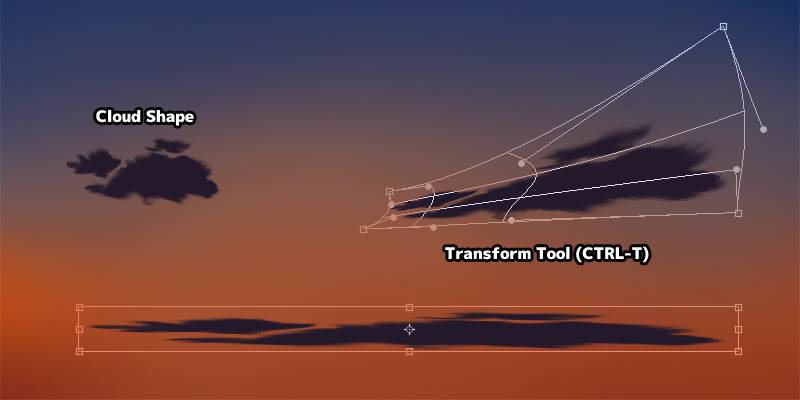
- Draw the shape of a basic cloud.
- Distort the cloud using transform tool (CTRL-T). The distortion can be uniform or non-uniform
- You can proceed to shade the cloud but they can be left as one tone.
Painting Cirrus Cloud
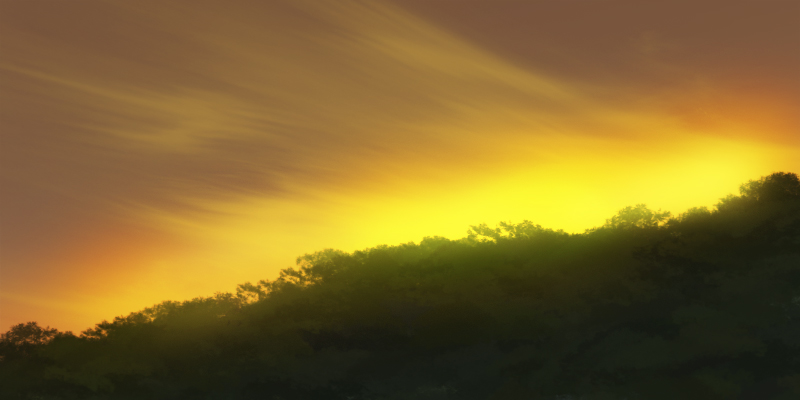
Cirrus clouds are not easy to paint with just default brush. But it can be done by smudging random pattern using the "Spatter" brush.
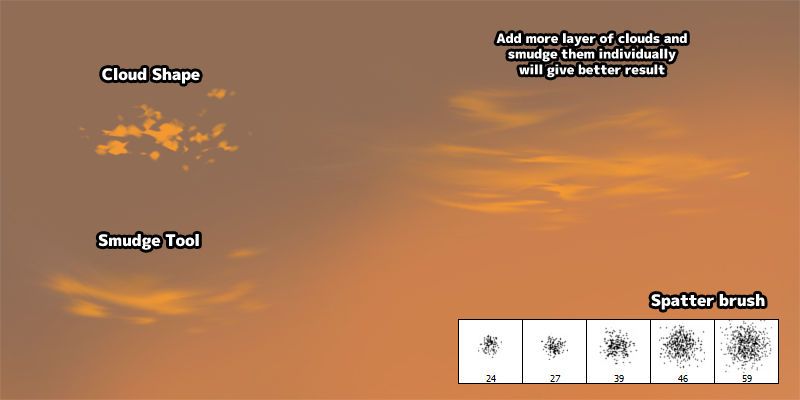
- Paint random shapes.
- Smudge them with smudge tool using large "Spatter" brush with around 40% strength. Increasing the smudge tool strength will allow us to smudge the cloud to further.
Painting Cirrocumulus and Altocumulus Cloud
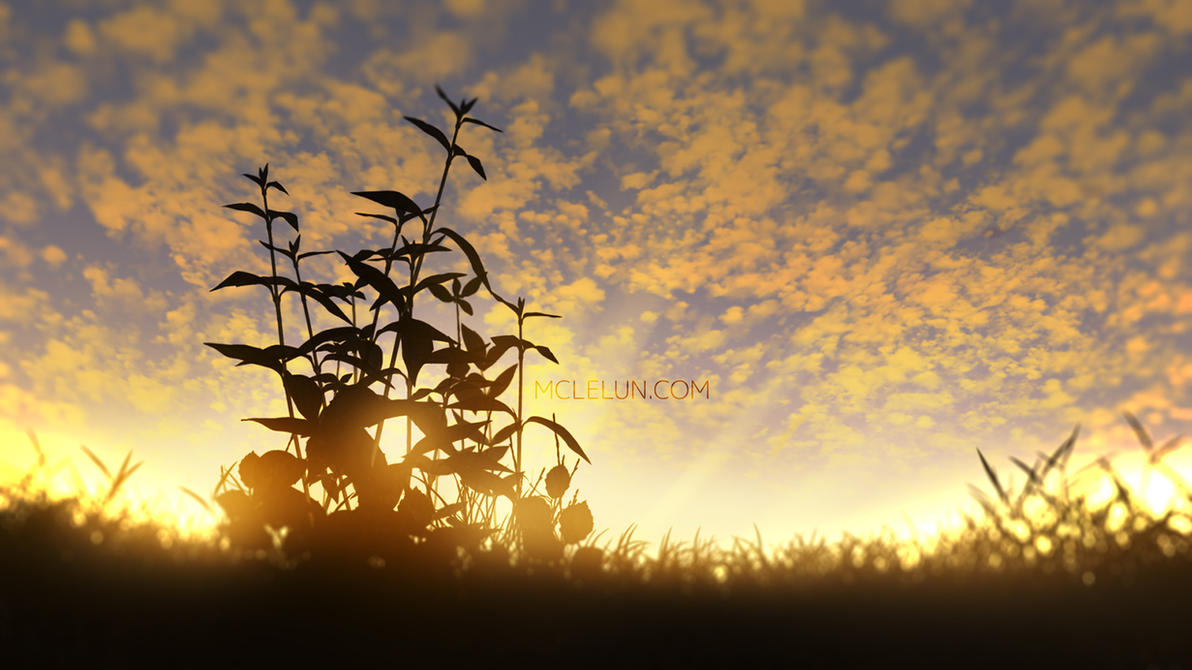
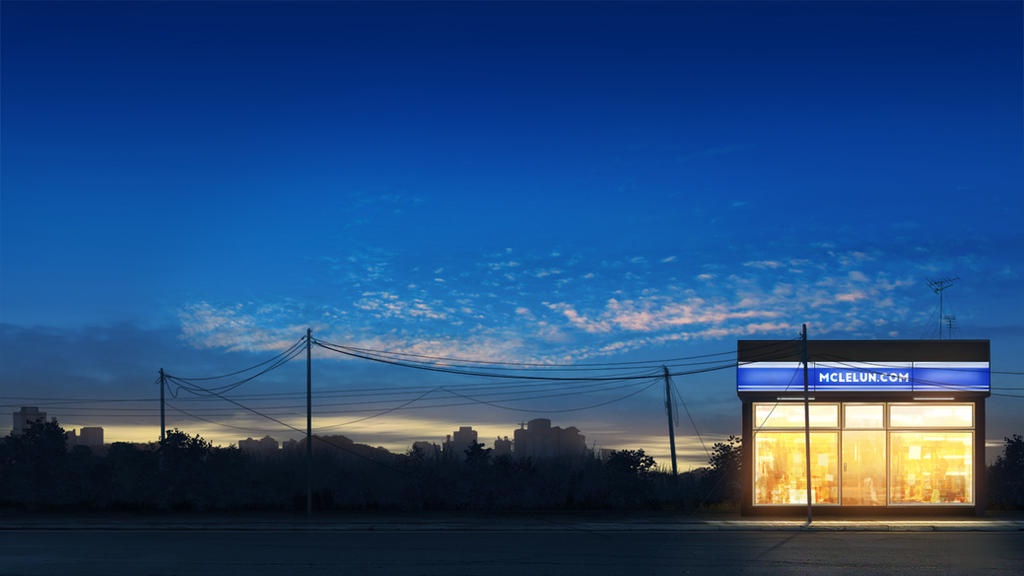
This clouds are usually seen during evening or early morning. It is not easy to paint this due to the amount of little clouds. But it can be done by painting lots of small clouds and distort them into perspective view.
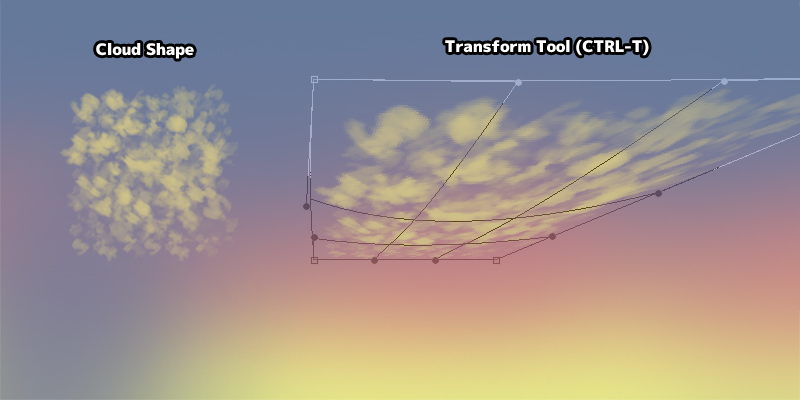
- Paint random small cloud shapes with different opacity.
- Distort the cloud using Transform Tool (CTRL-T).
We have cover how to paint different types of clouds so far. Now, lets move to other topic which can be quite useful for painting sky and clouds.
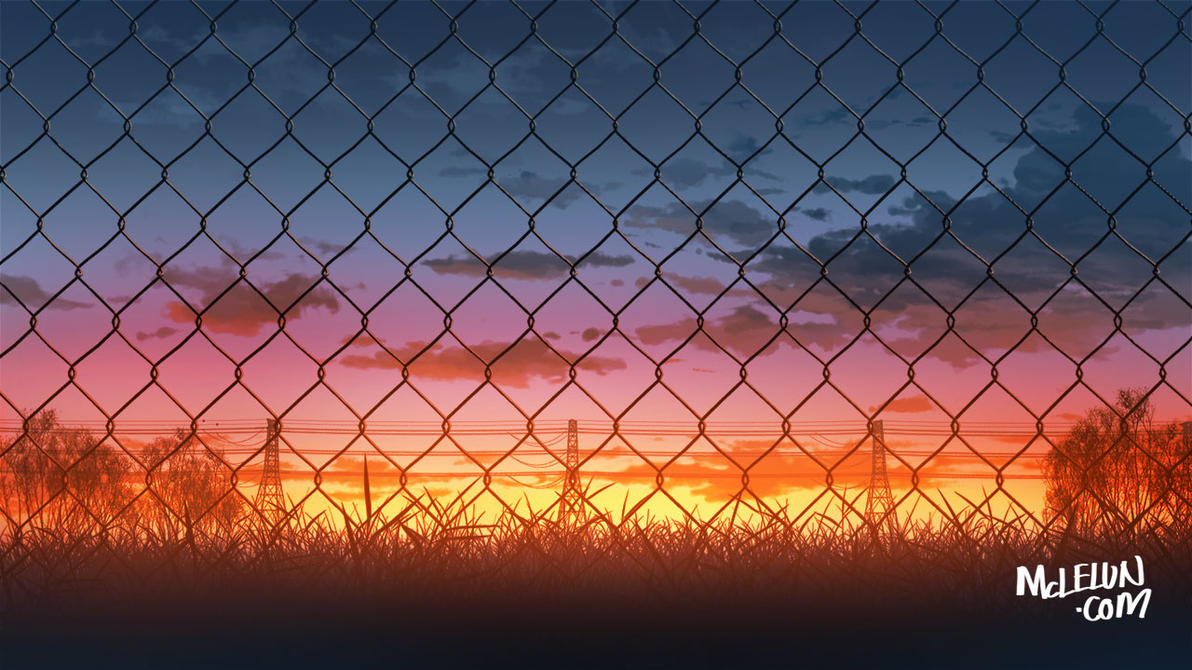
Atmospheric Effect
Atmospheric effect are use to show distance or light scattering in the sky. It is usually use for sunset scenery.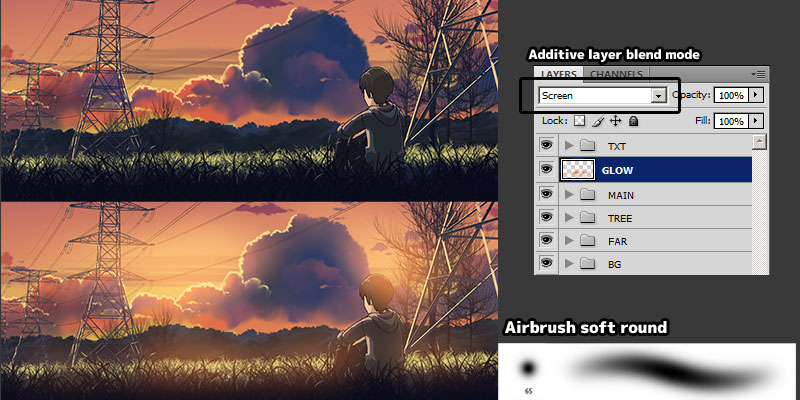
- Add a new layer with addictive blending mode such as "Screen" or "Add".
- Paint the glowing part with "Air Brush Soft Round".
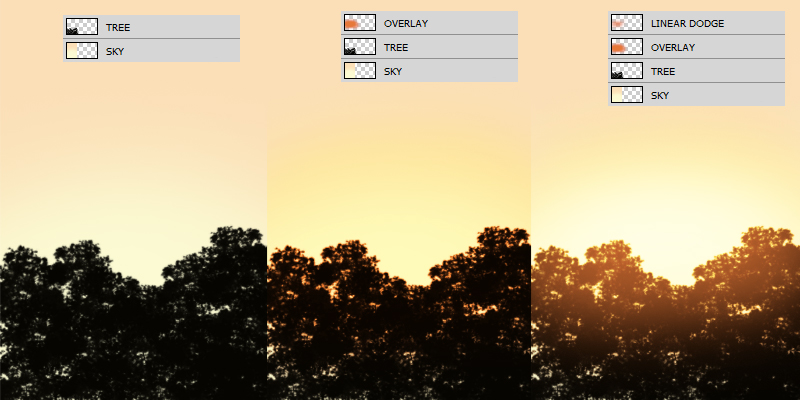
We can also try stacking multiple layers with different blend mode. I find using "Overlay" and "Linear Dodge" blend mode work best for blending sky colours.
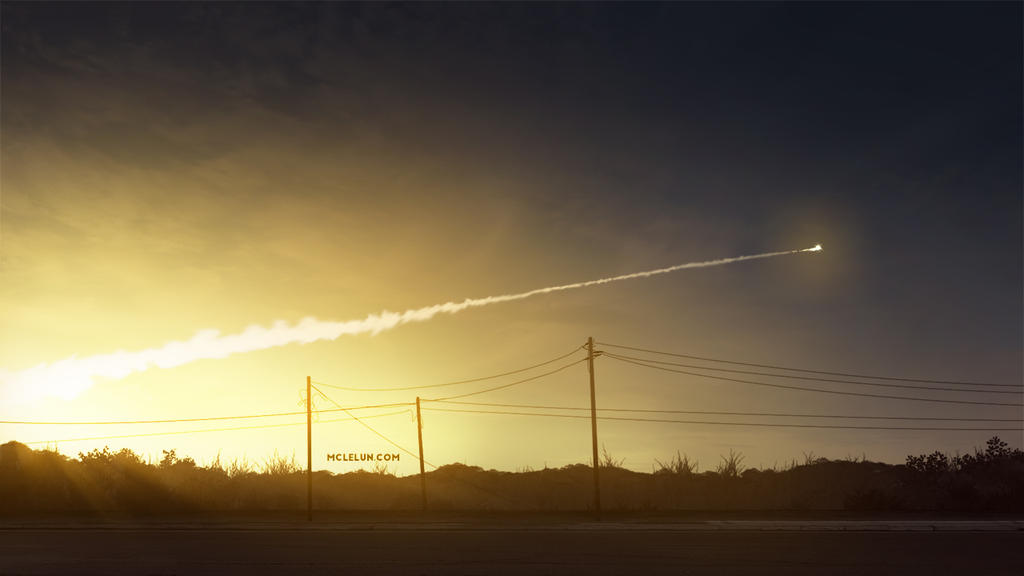
More info on adding glowing sun light into artwork.
Rimlight
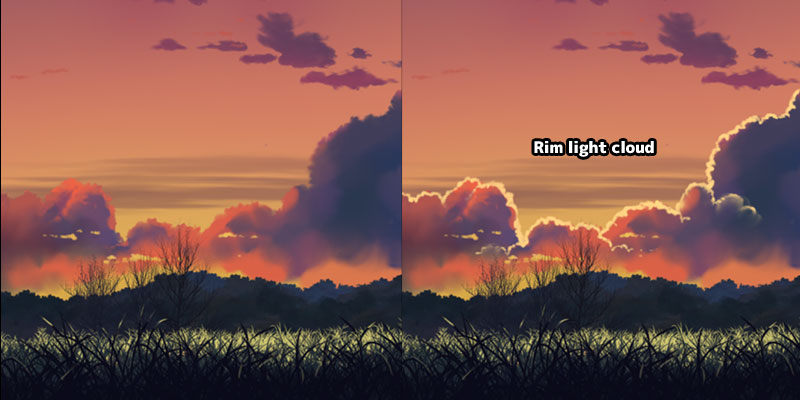
When sun is casting light behind the clouds, it will fully lit the thinner cloud and add a rim light around the thicker clouds.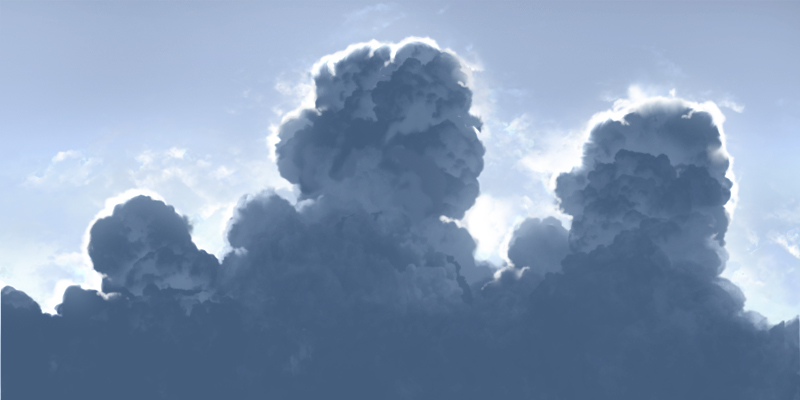
Light Ray Effect
Sometimes we will see light rays radiate from sky around the clouds. Light rays can be easily generate by using motion blur or radial zoom blur.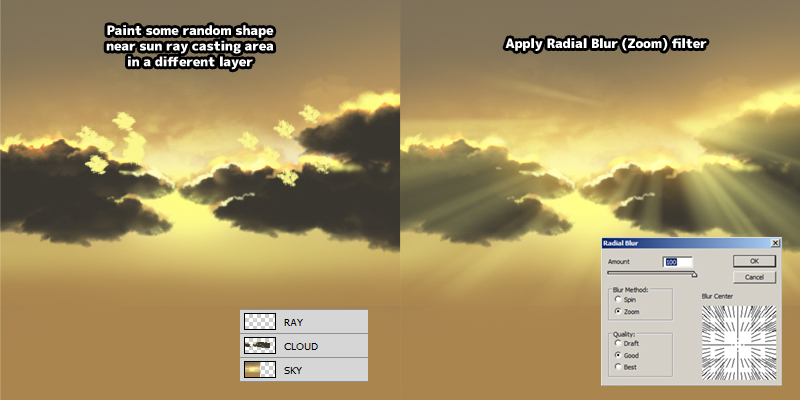
- Add a new layer and paint around the area where light ray will be visible.
- Apply motion blur or radial zoom blur.
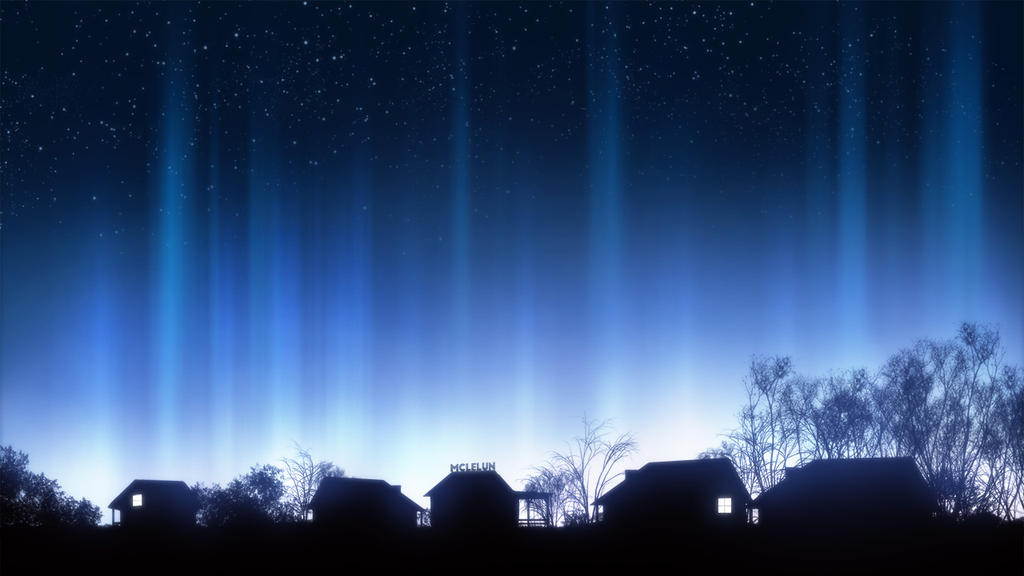
A vertical motion blur can be use to generate light pillar effect.
More info on Painting Light Ray.
Night Cloud

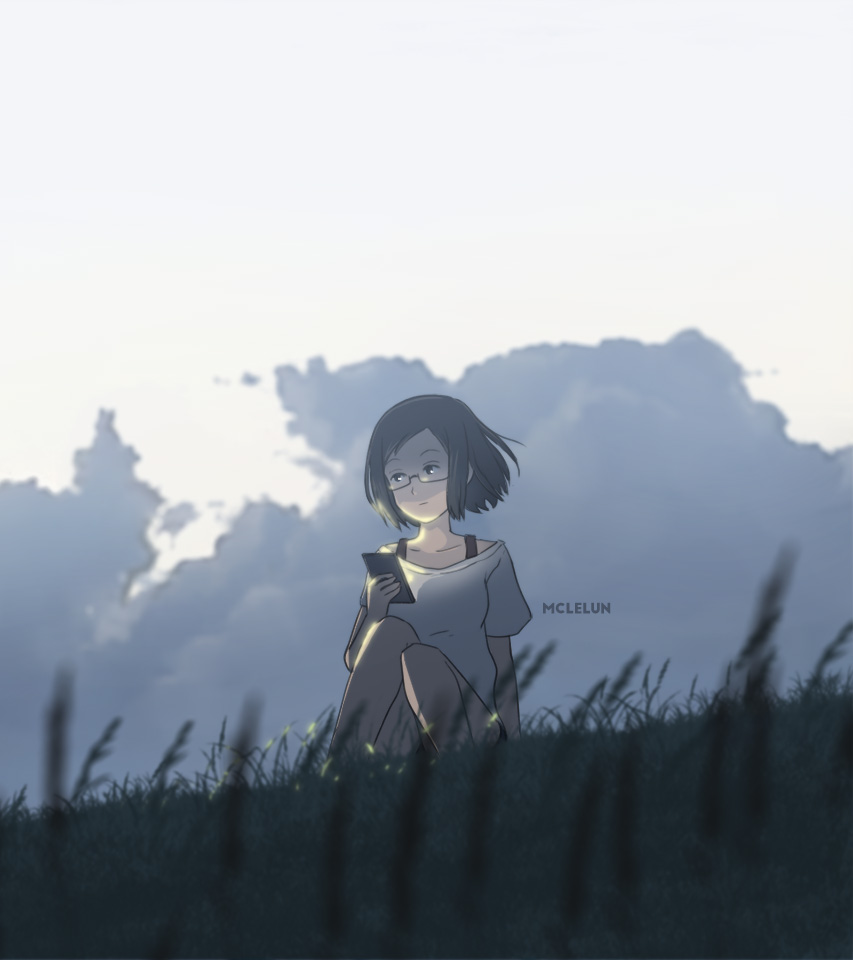
Cloud still receive light from city lights or moon during the night. So, we can paint the cloud with bright or dark colour depending if there is light scatter in them.
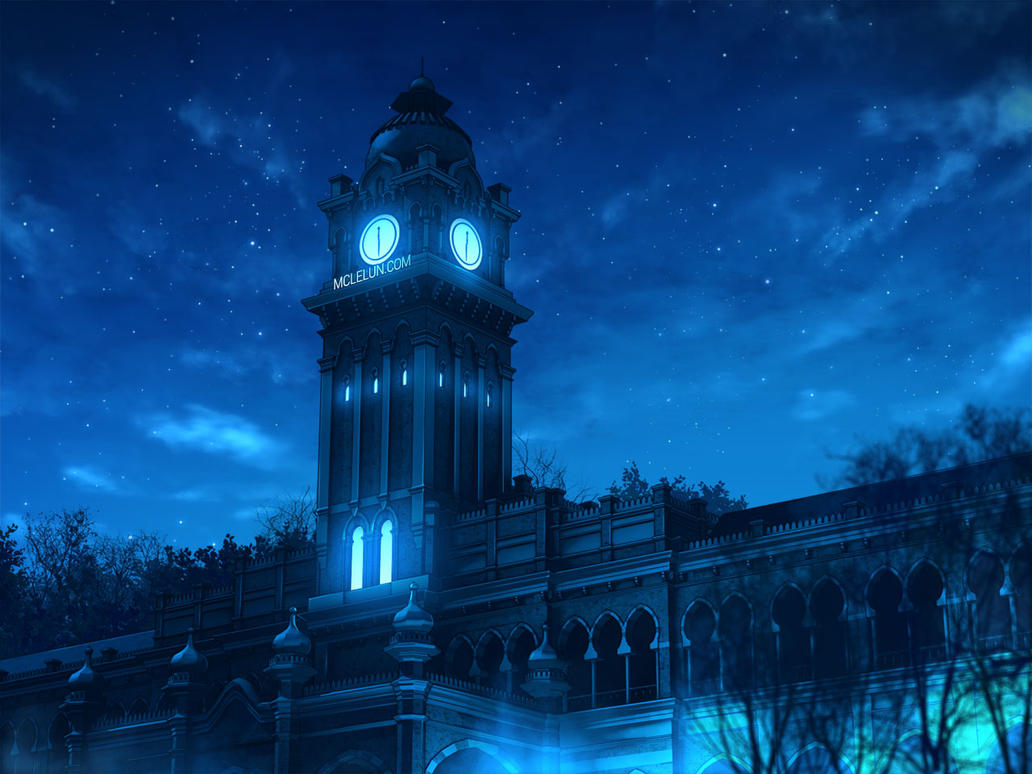
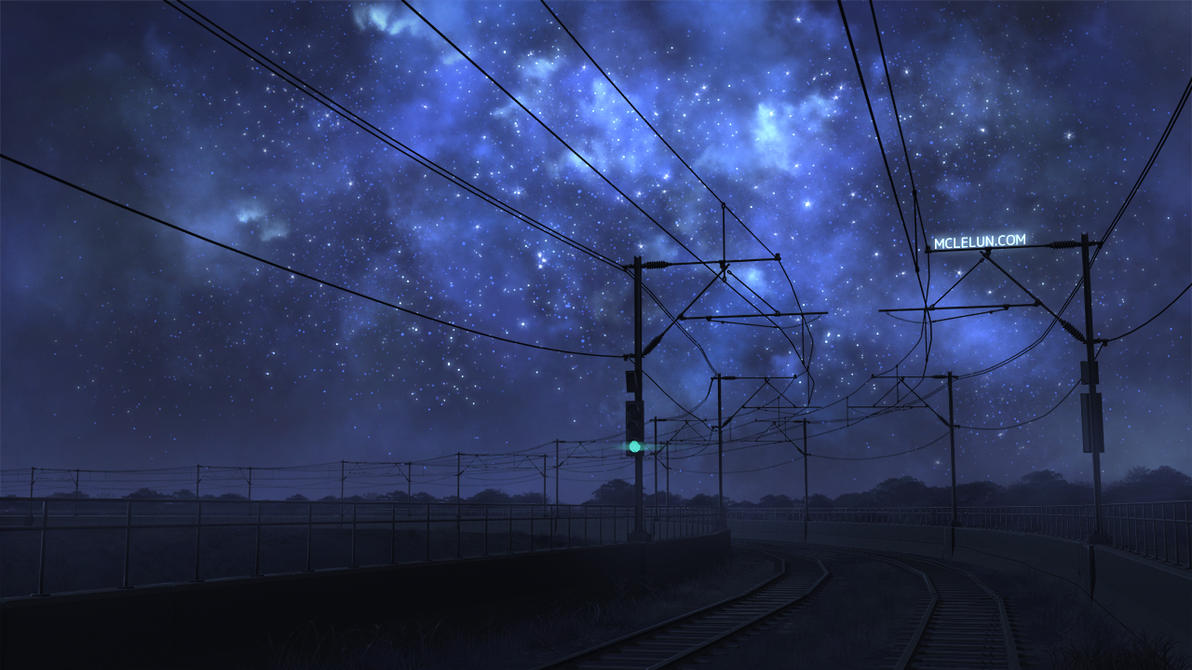
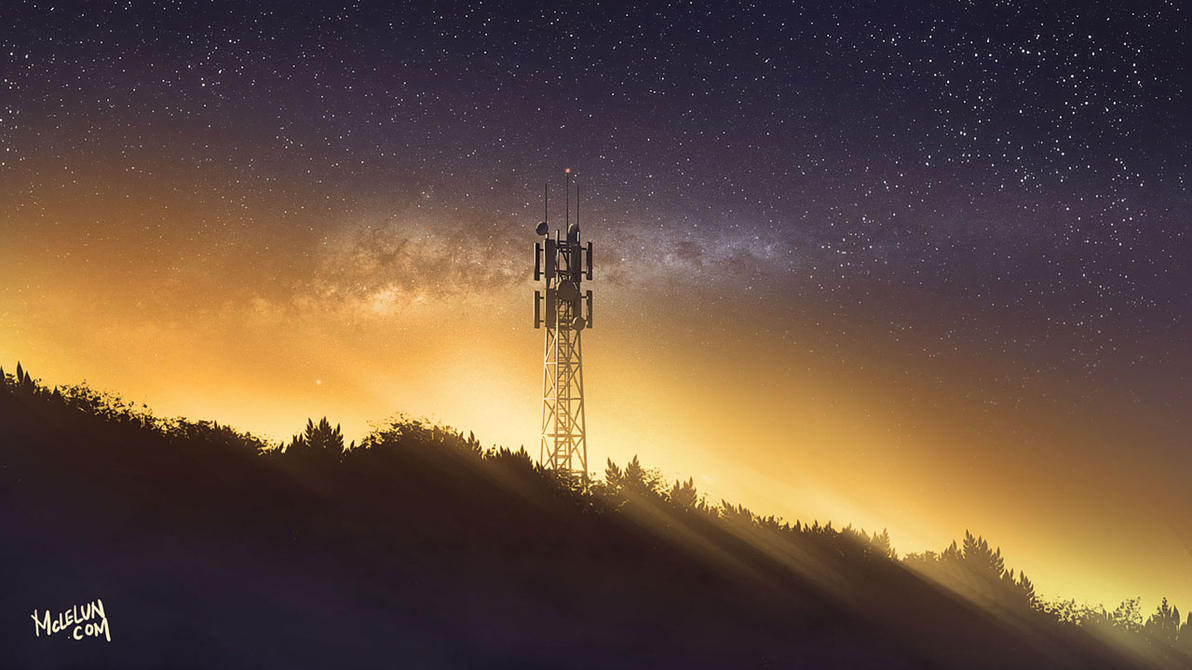
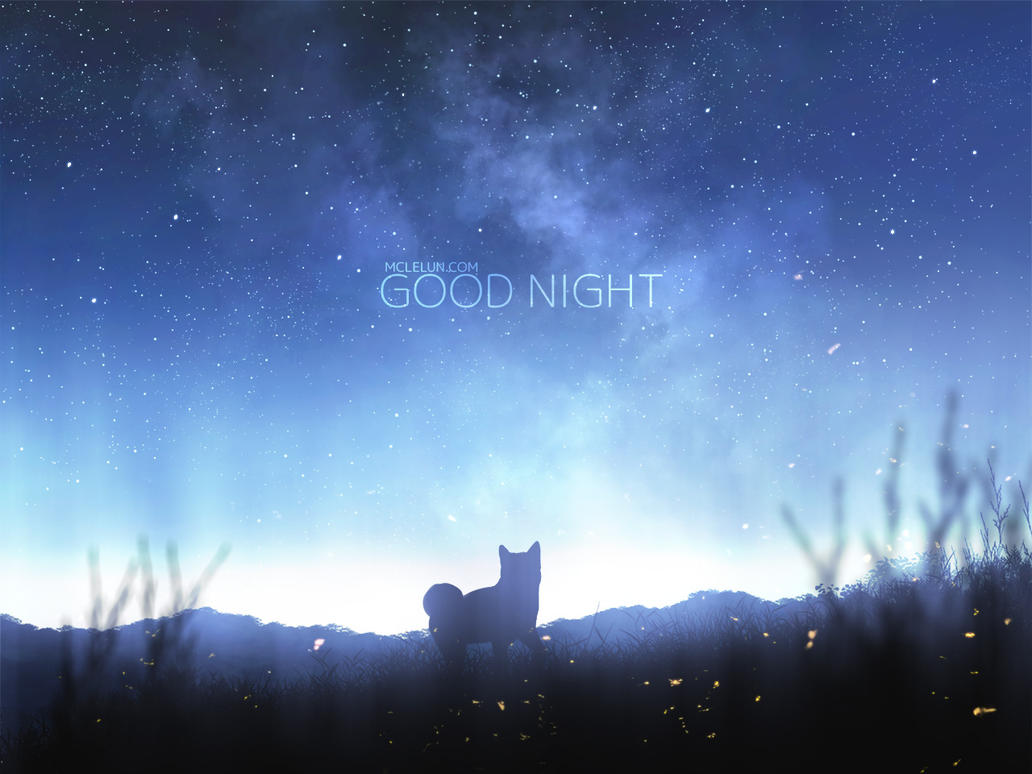
We can even add in milkyway or nebula cloud in our night sky painting. This will give the artwork a more magical and mystical feel
Raining Cloud
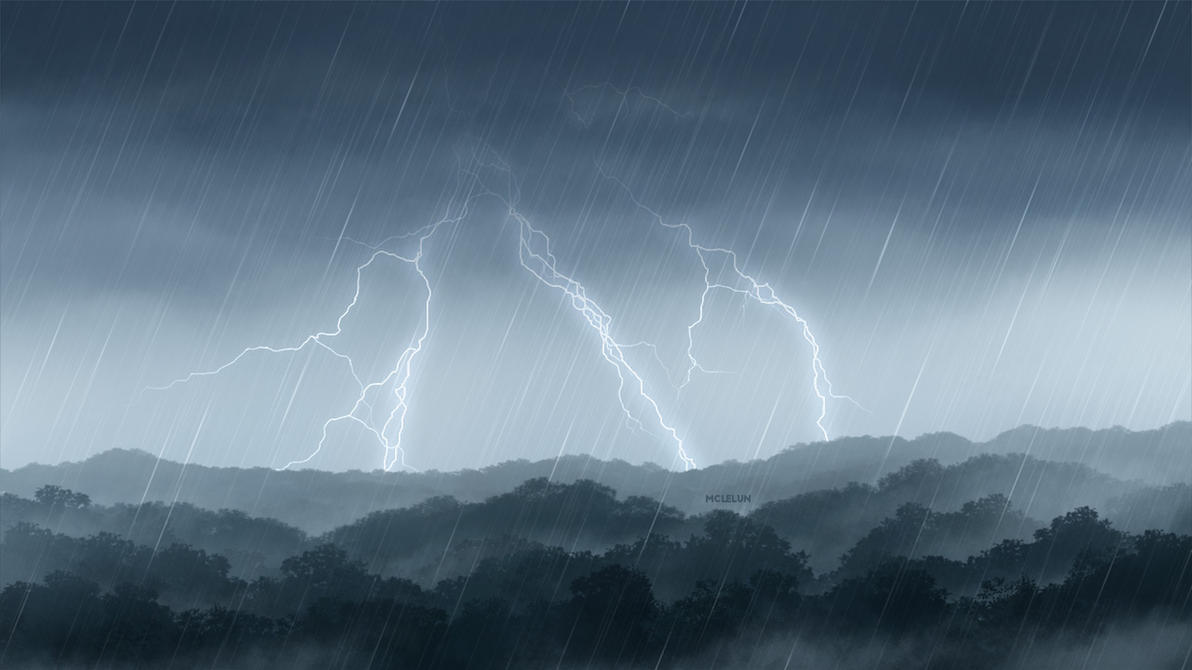
For raining scene, cloud is one huge layer of dark nimbus cloud. Nimbus cloud is dark because it is dense with water. As the rain start to fall, the cloud will become softer and lighther in colour. Colour use to paint raining scene are usually more monochrome and desaturate.
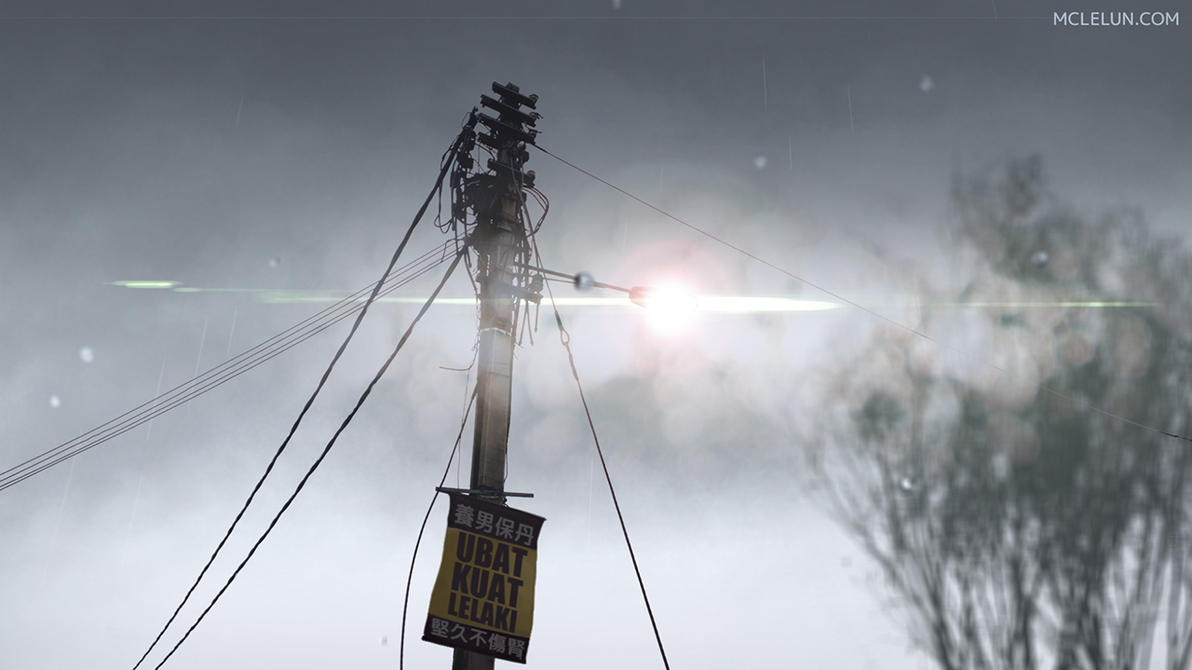
More info on Generating rain drop with Photoshop.
I am lost and can't paint with default Photoshop brush!

Don't worry! It take time and practice to achieve result and I am still learning while I am writing this. If you want faster result, the best way is to paint with custom brush. I have compile a list of useful cloud brush in my Photoshop brush download page.
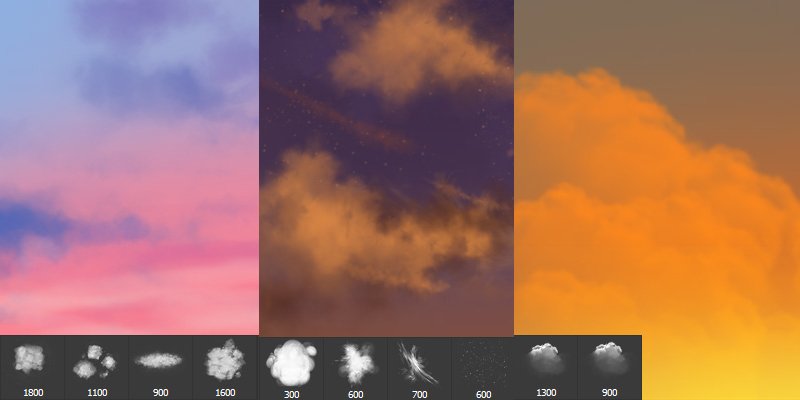
Below is a result of using some of the custom brush.
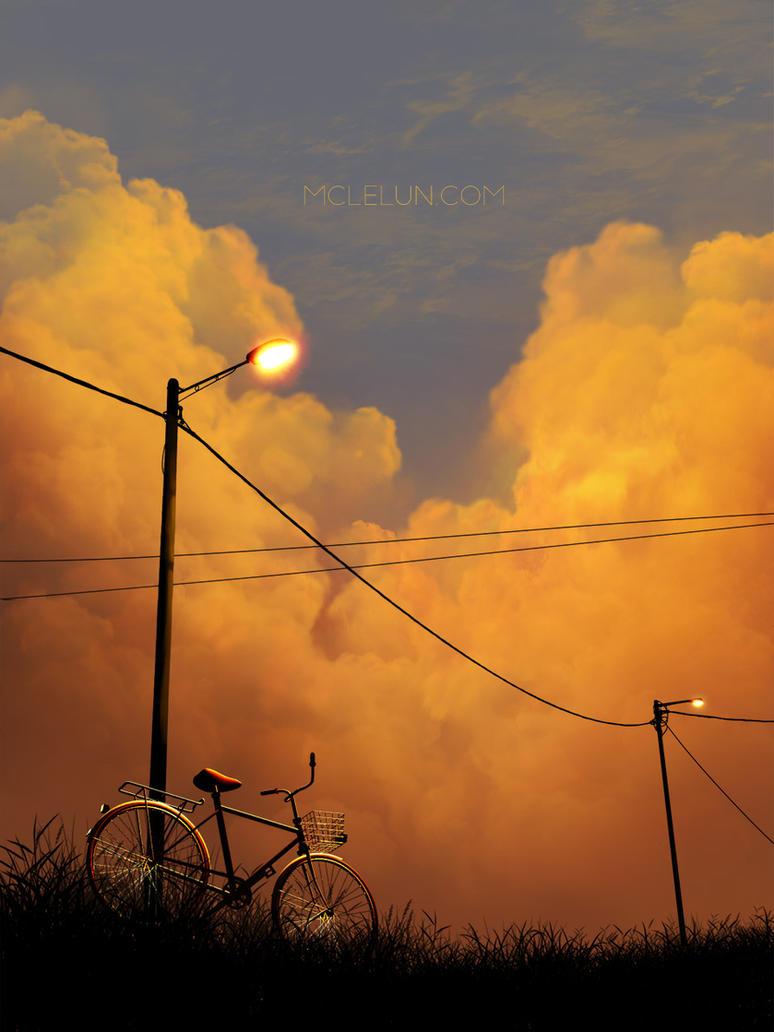
And this mark the end of my anime cloud painting tutorial. Just remember, practice makes perfect and keep on painting happy little clouds like Bob Ross always said.
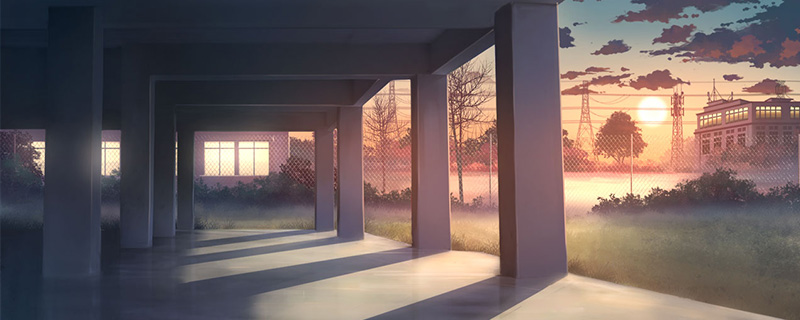
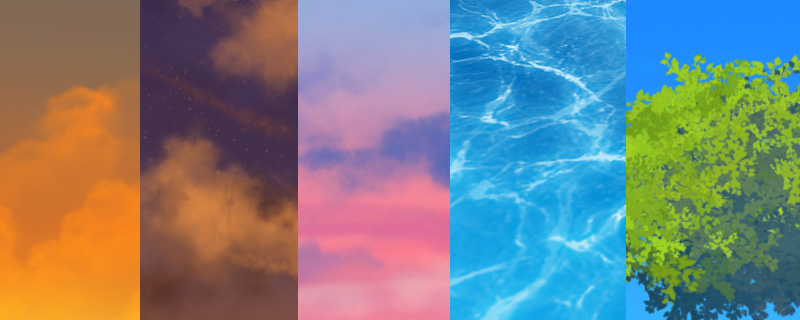
Thanks Bro!
ReplyDeleteWonderful tut
ReplyDeleteproud to be Malaysian
ReplyDeleteThis is fantastic! Thanks so much!
ReplyDeleteMalaysian?
ReplyDeleteGod bless you! I was looking for this type of information for a long time ! Thank you sooooo much!
ReplyDeleteHelpfull
ReplyDeleteVERY HELPFUL PAGE!
ReplyDeleteThx mastah!
ReplyDeletethanks
ReplyDeleteThank you very much!!! *w*)/ ❤
ReplyDeletevery detail and helpful <3
ReplyDeletethank you
ReplyDeletethanks brow
ReplyDeleteLove your artwork, i always look at your artwork as refrence... And thank for this web.. It very help..
ReplyDeleteThank You for these tutorials and tips, very helpful!
ReplyDeleteThankyou! These are very helpful
ReplyDelete