Photoshop Grass Painting Tutorial
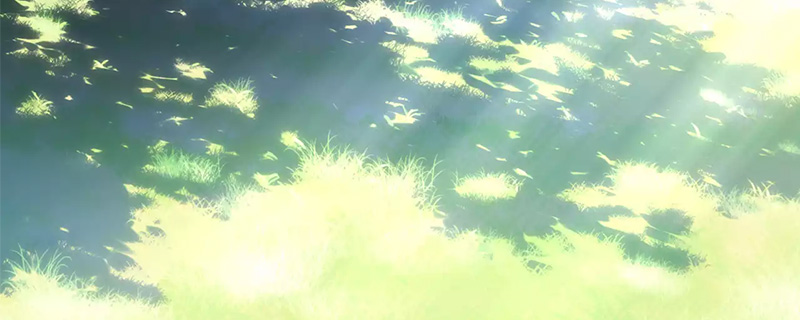
This is a brief tutorial on how to paint grass with light and shadow using Photoshop. The key step is to seperate the shadow into a different layer, so we can make changes easier.
Grass
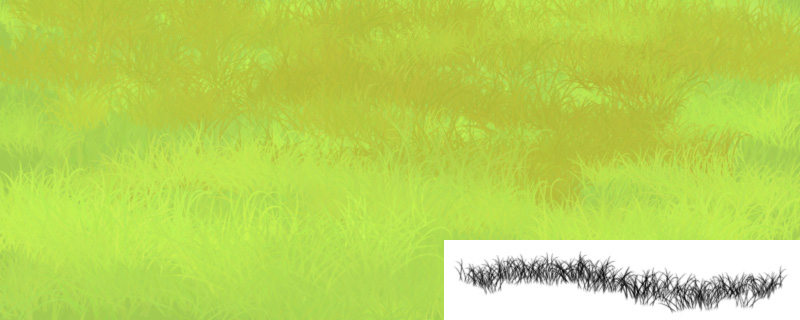
Start painting the grass in one layer. The default grass brush is good enough, but there are few settings you could change.
- Shape Dynamics - Flip X Jitter (No Flip Y Jitter as we don't want upside down grass), Size Jitter, Angle Jitter, Roundness Jitter
- Scattering
- Color Dynamics - Hue, Saturation, Brightness. I disable the Background/Foreground Jitter, but it can be usefull if you choose 2 shades of green for it and control via pen pressure.
More Tutorial! Read my tutorial on how to create custom Photoshop leaves and grass brush for more info!
Shadow
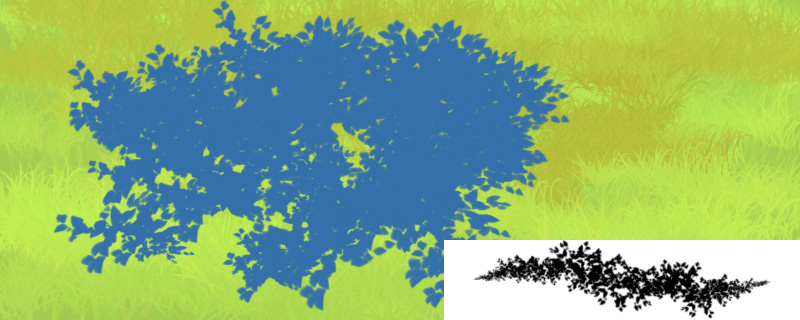
Add another layer, and paint the leaves shadow (cast from tree) using blue / cyan hue color. The leaf brush I used are from Xong Bros, I compile a brush download list in this page.
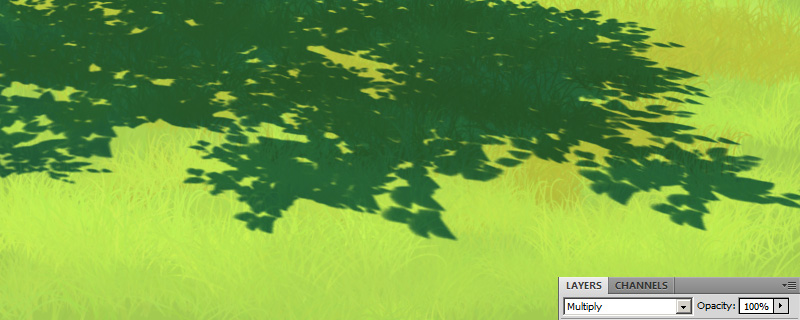
Distort the shadow layer (CTRL-T) to give it a bit perspective and change the layer blending mode to multiply. You can go back to change the shadow layer color if it is too dark or bright.
At the moment it look like the shadow is casting on a flat surface, ignoring the grass detail. To see what I mean, look at the photo I took below.
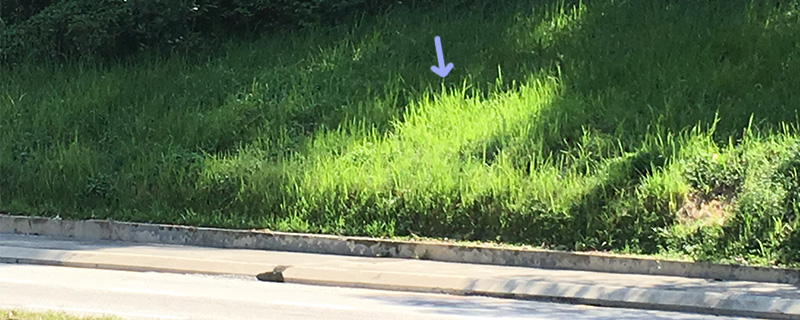
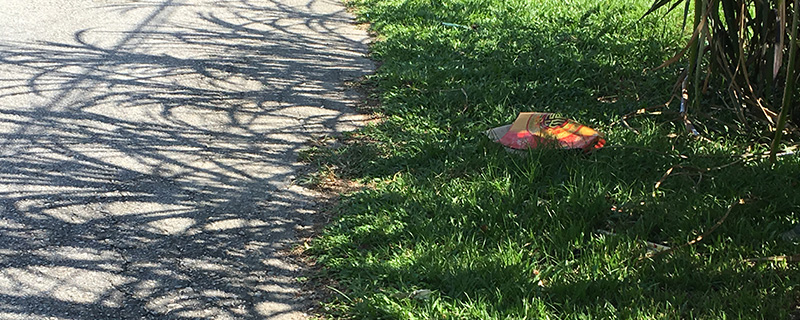
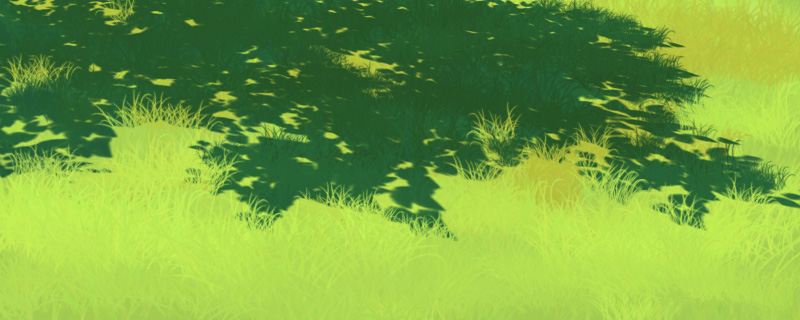
Use the grass brush again, paint and erase on the shadow layer. Remember to use the same blue / cyan color!
Glow / Highlight
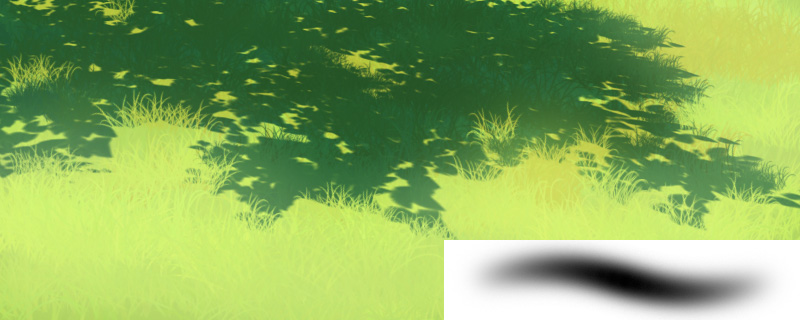
Add a new layer and change blending mode to "screen". Use a soft round edge to paint on the area surrounding the shadow.
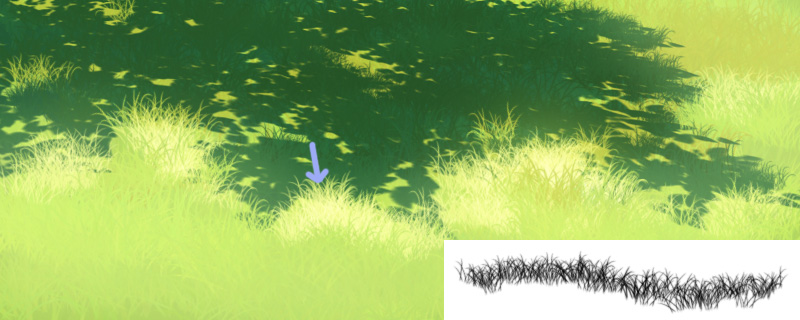
As an extra step, you can add a another layer and change blending mode to "screen". Use the grass brush to paint some area with brightest grass.
Video
Below is a very simple animation with grass and speed up painting progress video.Artwork
This is the final artwork which I have upload both in my pixiv and deviantart.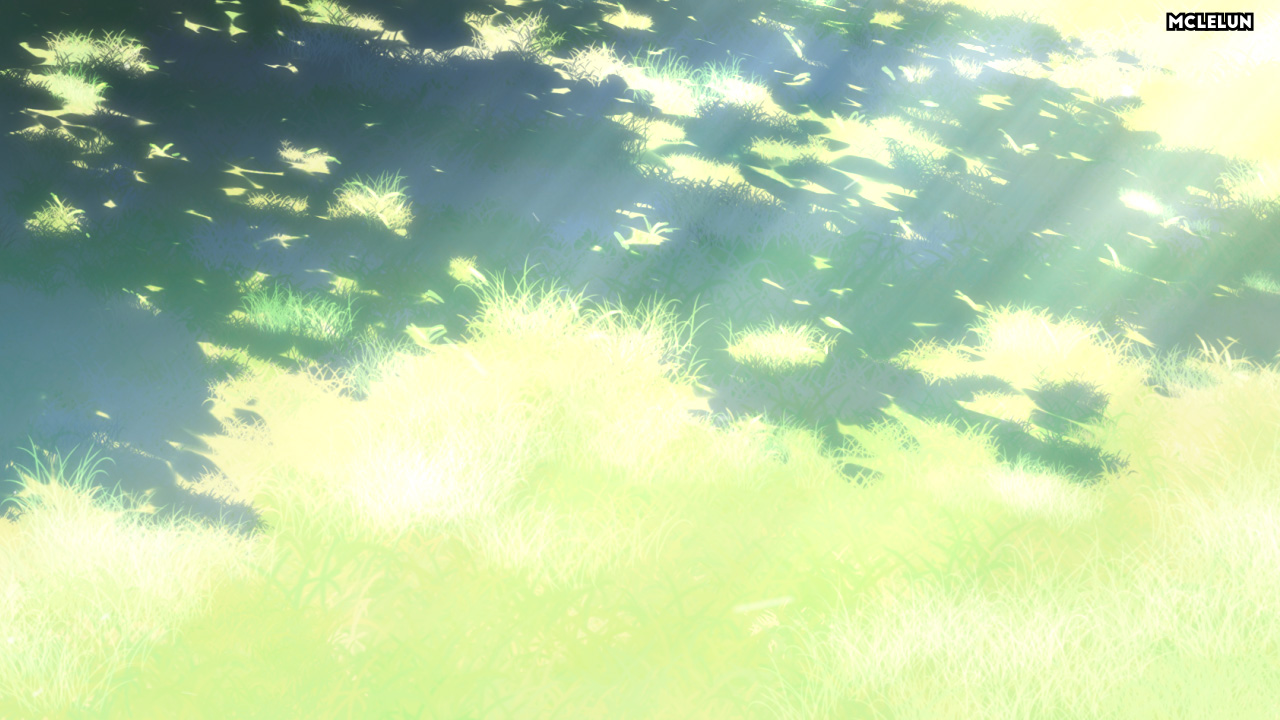
Reference
DeviantArt Summer GrassPixiv Summer Grass
Youtube Lets Paint Summer Grass
thank you so much!
ReplyDelete