Painting Anime Raining Scene
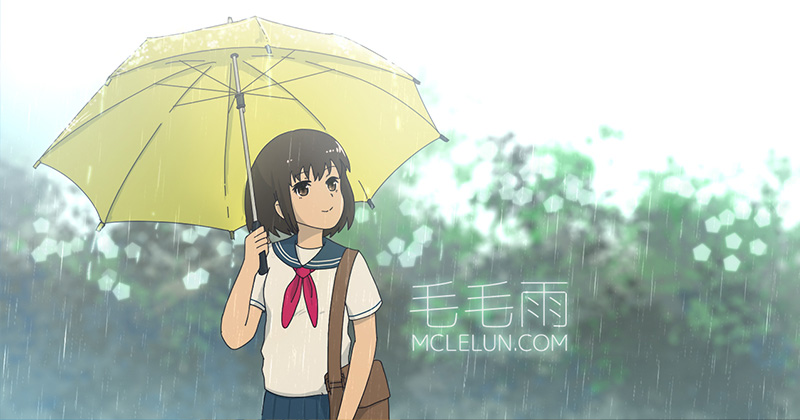
This is a timelapse videos showing how I paint a raining scene with anime girl, I will be also showing you a quick tip on how to "generate" rain effects quickly in Photoshop noise and blur filter.
Raindrop Tutorial
You can easily generate raindrop using "directional/motion blur" filter on "noise" image. First, fill a layer with solid black colour and resize it to 200 percent.
Apply monochromatic noise filter to the black layer.
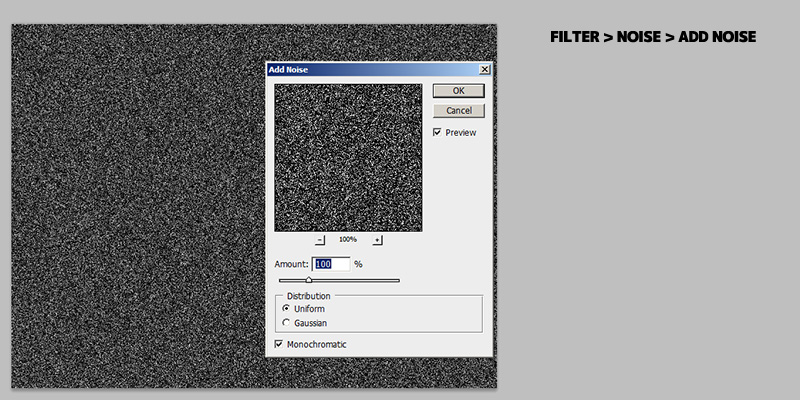
Apply motion blur filter to the noise image. Do not over blur the noise image, as we want to retain some details in it.

Adjustting values / contrast of the blur image to bring out some raindrop more. So it give more depth to this rain drop image. Remember , you can use multiple layers of rain drop image in your artwork too!
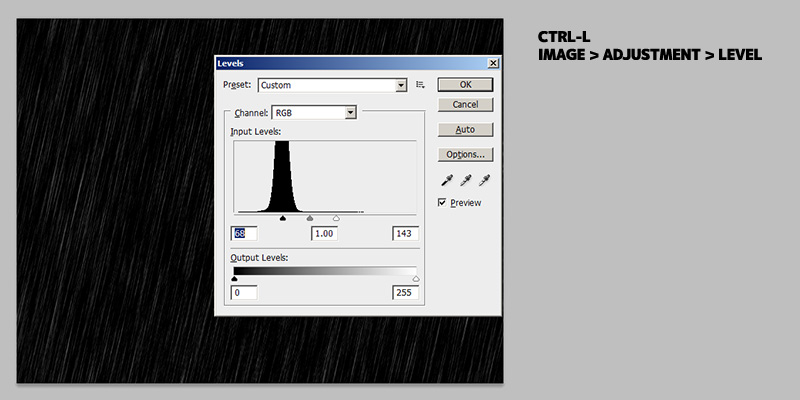
This is what happen if we don't resize the black layer earlier. It will have the blury artifact on top and bottom when we apply motion blur filter.

Video
Part 1 Ink and coloring an anime character I sketch earlier with firealpaca.Part 2 show how I paint the background with Photoshop. There is a bit of short pause in video, because I was talking with my friend.
Artwork
This is the final artwork which I have upload both in my pixiv and deviantart.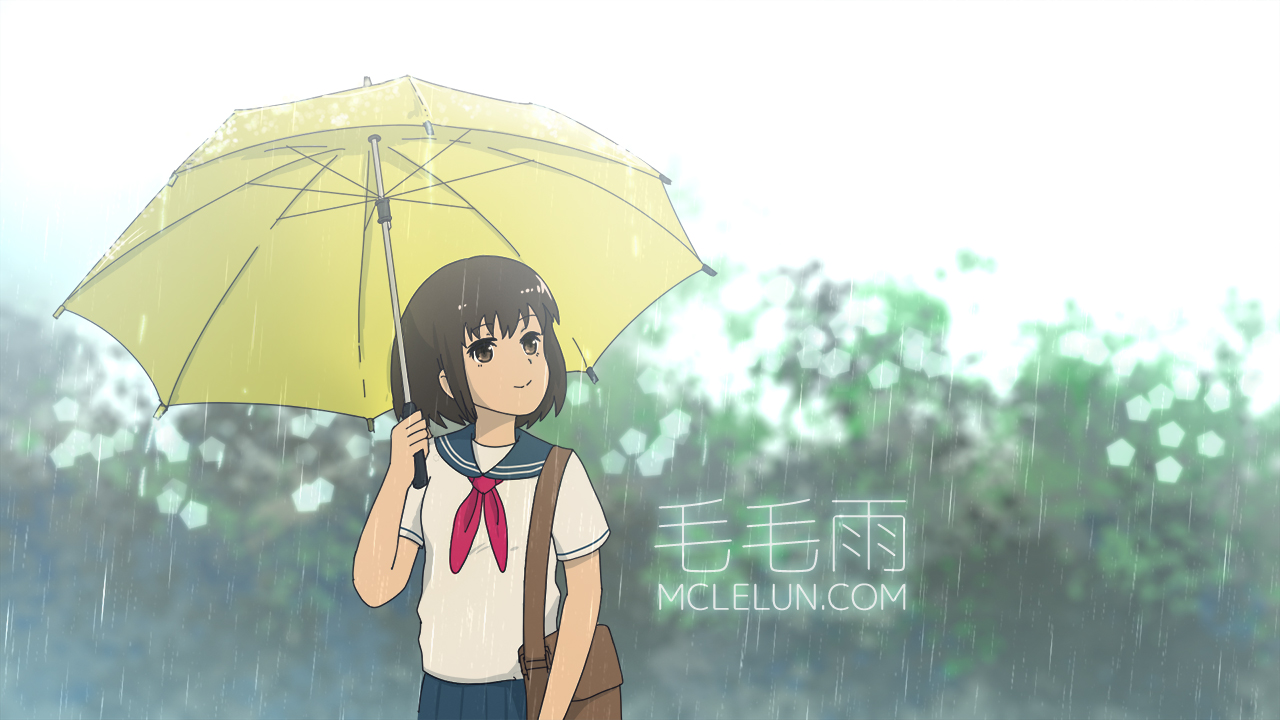
Reference
DeviantArt Anime Rainy ScenePixiv Anime Rainy Scene
Youtube Painting Anime Rainy Scene Part 1
Youtube Painting Anime Rainy Scene Part 2
Comments
Post a Comment